Martin Audio C516/T handleiding
Handleiding
Je bekijkt pagina 4 van 10
4 INSTALLATION
The C516 is installed in 2 stages:
First fix: Make electrical connections and install back-
can in the ceiling
Second fix: Install speaker baffle
4.1 First fix
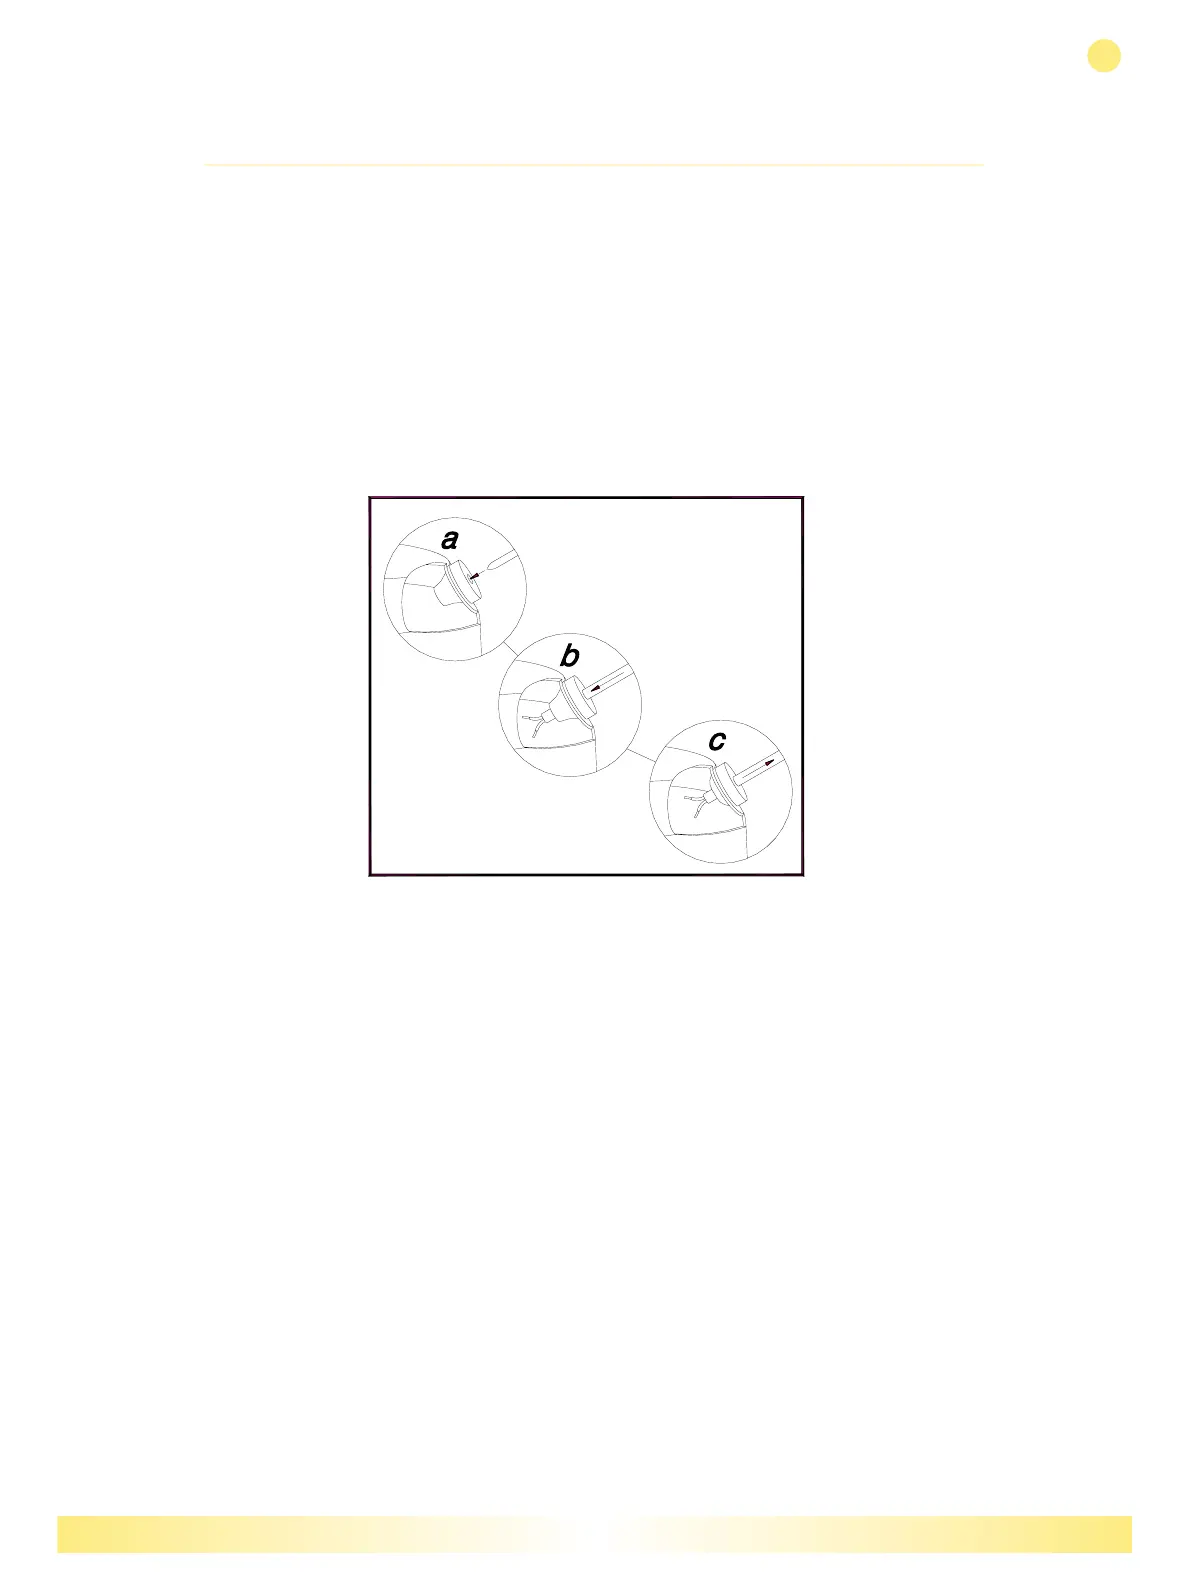
Note: The back-can of the C516 is provided with two 20mm holes. One
hole is fitted with a grommet which accepts cables with diameters of
7-10mm and provides light strain relief (see Fig. 1). The other 20mm hole
is fitted with a blanking plug.
IMPORTANT
Please note that is very important for the acoustic performance of the
C516 that the back-can remains airtight after installation. If the
grommet and blanking plug are removed and other cable glands
utilised, these should be airtight.
Depending on local electrical codes, flexible metallic tubing or conduit may
have to be used in conjunction with metal cable glands.
1. The terminal block within the back-can will accept stripped wires. To
prepare the wires for connection, strip back approximately 8mm.
2. Pull the steel strip spring in the back-can to its down position.
3. Insert the stripped wires into push-terminal block in back-can. Please
note that it is important to maintain consistent polarity throughout.
4. If support rails are to be used feed them up through the ceiling cut-out
and place them in parallel positions on either side of the cut-out.
Martin Audio – C516 Ceiling Loudspeaker
ENGLISH
4
Fig. 1
All material © 2007. Martin Audio Ltd. Subject to change without notice.
CONTENTS
<
>
PRINT
GUIDES
Bekijk gratis de handleiding van Martin Audio C516/T, stel vragen en lees de antwoorden op veelvoorkomende problemen, of gebruik onze assistent om sneller informatie in de handleiding te vinden of uitleg te krijgen over specifieke functies.
Productinformatie
| Merk | Martin Audio |
| Model | C516/T |
| Categorie | Niet gecategoriseerd |
| Taal | Nederlands |
| Grootte | 1780 MB |


