Makita DHP490 handleiding
Handleiding
Je bekijkt pagina 8 van 68
8 ENGLISH
Reversing switch action
CAUTION: Always check the direction of
rotation before operation.
CAUTION: Use the reversing switch only after
the tool comes to a complete stop. Changing the
directionofrotationbeforethetoolstopsmaydam-
age the tool.
CAUTION: When not operating the tool,
always set the reversing switch lever to the neu-
tral position.
This tool has a reversing switch to change the direction
of rotation. Depress the reversing switch lever from the
A side for clockwise rotation or from the B side for coun-
terclockwise rotation.
When the reversing switch lever is in the neutral posi-
tion,theswitchtriggercannotbepulled.
►Fig.5: 1. Reversing switch lever
Speed change
CAUTION: Always set the speed change lever
fully to the correct position. If you operate the
tool with the speed change lever positioned halfway
betweenthe"1"sideand"2"side,thetoolmaybe
damaged.
CAUTION: Do not use the speed change lever
while the tool is running.Thetoolmaybedamaged.
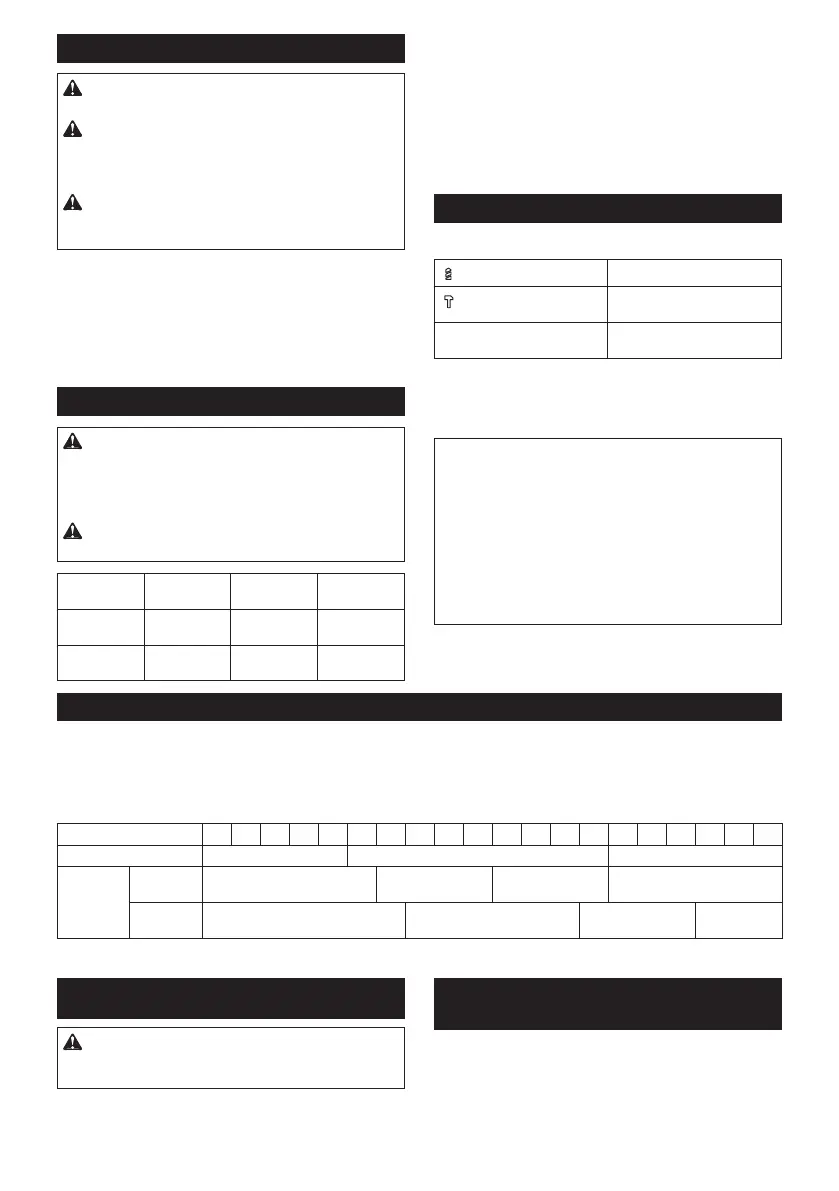
Displayed
Number
Speed Torque Applicable
operation
1 Low High Heavy load-
ing operation
2 High Low Light loading
operation
Tochangethespeed,switchothetoolrst.Push
the speed change lever to display "2" for high speed
or"1"forlowspeedbuthightorque.Besurethatthe
speedchangeleverissettothecorrectpositionbefore
operation.
If the tool speed is coming down extremely during the
operation with display "2", push the lever to display "1"
and restart the operation.
►Fig.6: 1. Speed change lever
Selecting the action mode
This tool has three action modes.
Drilling mode (rotation only)
Hammer drilling mode (rota-
tion with hammering)
1 - 20 Screwdriving mode (rotation
with clutch)
Selectthemodesuitableforyourwork.Turntheadjust-
ing ring and align the mark that you select with the
arrowonthetoolbody.
►Fig.7: 1.Adjustingring2. Mark 3. Arrow
NOTICE: Always set the ring correctly to your
desired mode mark. If you operate the tool with the
ringpositionedhalfwaybetweenthemodemarks,the
toolmaybedamaged.
NOTICE: Do not change the action mode while tool
is rotating.
NOTICE:Ifitisdiculttoslidetheadjustingring,
switch on and run the tool for a second, then stop
thetoolandslidetheadjustingringtoyourdesired
position again.
Adjusting the fastening torque
Thefasteningtorquecanbeadjustedin20levelsby
turningtheadjustingring.Alignthegraduationswiththe
arrowonthetoolbody.Youcangettheminimumfas-
tening torque at 1 and maximum torque at 20.
►Fig.8: 1.Adjustingring2. Graduation 3. Arrow
Before actual operation, drive a trial screw into your
material or a piece of duplicate material to determine
which torque level is required for a particular applica-
tion. The following shows the rough guide of the rela-
tionshipbetweenthescrewsizeandgraduation.
Graduation 1 2 3 4 5 6 7 8 9 10 11 12 13 14 15 16 17 18 19 20
Machine screw M4 M5 M6
Wood
screw
Soft wood
(e.g. pine)
– ø3.5 x 22 ø4.1x 38 –
Hard wood
(e.g. lauan)
– ø3.5 x 22 ø4.1x 38 –
ASSEMBLY
CAUTION: Always be sure that the tool is
switched o and the battery cartridge is removed
before carrying out any work on the tool.
Installing or removing driver bit/
drill bit
Optional accessory
Turn the sleeve counterclockwise to open the chuck
jaws.Placethedriverbit/drillbitinthechuckasfar
as it will go. Turn the sleeve clockwise to tighten the
chuck.Toremovethedriverbit/drillbit,turnthesleeve
Bekijk gratis de handleiding van Makita DHP490, stel vragen en lees de antwoorden op veelvoorkomende problemen, of gebruik onze assistent om sneller informatie in de handleiding te vinden of uitleg te krijgen over specifieke functies.
Productinformatie
| Merk | Makita |
| Model | DHP490 |
| Categorie | Niet gecategoriseerd |
| Taal | Nederlands |
| Grootte | 10516 MB |


