Handleiding
Je bekijkt pagina 12 van 24
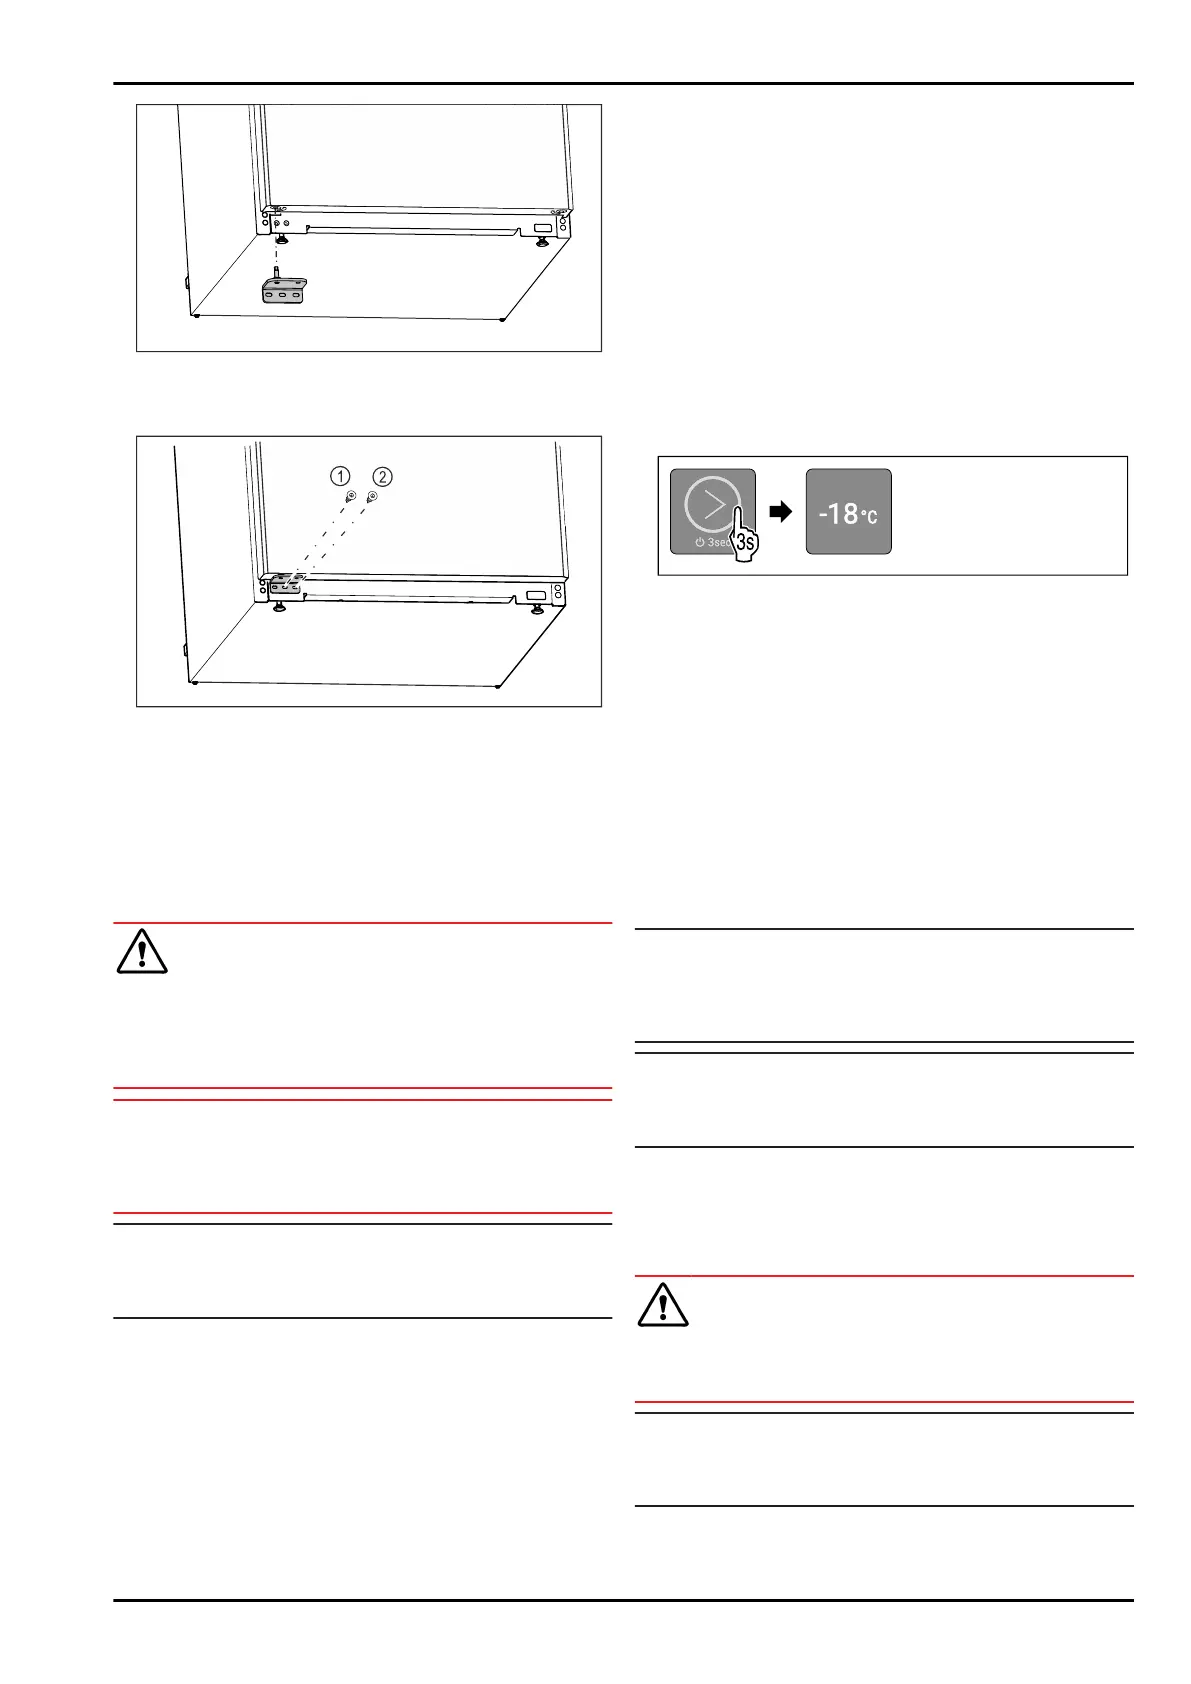
Fig.20
u
Insert the lower swap bearing block on the opposite side.
(see Fig.20)
Fig.21
u
Tighten the middle screw of the swap bearing block
Fig.21(1) with a Torx 20 screwdriver.
u
Tighten the inner screw of the swap bearing block
Fig.21(2) with a Torx 20 screwdriver.
u
Check the door.
w
The door hinge has been changed.
4.12 Connecting device
WARNING
Danger of fire due to incorrect connection!
Burns.
Damage to the appliance.
u
Do not use an extension cable.
u
Do not use distributor blocks.
NOTICE
Danger of damage to incorrect connection!
Damage to the appliance.
u
Do not connect the appliance to a stand-alone inverter,
e.g. solar power systems and petrol generators.
Note
Only use the supplied mains cable.
u
A longer mains cable can be ordered from Customer
Service.
Ensure that the following conditions are met:
- The type of current and voltage at the installation site
match the information on the serial tag (see 1 Appliance
at a glance) .
- The socket is earthed according to the regulations and
fused.
- The fuse tripping current is between 10 and 16A.
- The socket is easily accessible.
- The socket is not located behind the appliance but in
areas a or b(a, b, c).
u
Check the electrical connection.
u
Insert the appliance plug (G) into the back of the appli‐
ance. Ensure that they latch into place.
u
Connect the mains plug to the power supply.
4.13 Switching on device (first use)
Make sure that the following requirements are fulfilled:
q
The device has been installed and connected in accord‐
ance with the installation instructions.
q
All adhesive strips, adhesive and protective films and
transport locks are removed from inside and on the
device.
q
All marketing leaflets are removed from the drawers.
q
You are familiar with the functionality of the display.
(see3 Functionality of the display)
Switching on the device:
Fig.22
u
Touch the touchbutton as shown in the illustration for
3 seconds until you hear the confirmation tone.
w
The device is switched on.
w
Interior lighting is activated.
w
LED 2 lights up: Temperature is set to -18 °C at the
factory.
w
The device cools to the target temperature set at the
factory.
Device starts in demo mode:
When the device starts in demo mode:
u
Deactivating demo mode. (see Deactivating demo mode)
Display switches to sleep mode:
When the display switches to sleep mode:
u
Briefly touch the touchbutton. (see 3.2.1 Sleep mode of
the display)
Note
The manufacturer recommends:
u
Store frozen foods at -18°C or colder.
u
Observe the notes on storing food. (see 5.1 Information
regarding storage)
Note
Accessories can be purchased from the Liebherr-
Hausgeräte store at home.liebherr.com/shop/de/deu/
zubehor.html.
5 Storage
5.1 Information regarding storage
WARNING
Risk of fire
u
Do not use any electrical appliances in the food area of
the appliance unless recommended by the manufacturer.
Note
The energy consumption increases and the cooling power
goes down if ventilation is not sufficient.
u
Always keep air slots clear.
Observe the following specifications for storage:
-
Package food properly.
Storage
12 * Depending on model and options
Bekijk gratis de handleiding van Liebherr TGN 14Ve04, stel vragen en lees de antwoorden op veelvoorkomende problemen, of gebruik onze assistent om sneller informatie in de handleiding te vinden of uitleg te krijgen over specifieke functies.
Productinformatie
| Merk | Liebherr |
| Model | TGN 14Ve04 |
| Categorie | Vriezer |
| Taal | Nederlands |
| Grootte | 3586 MB |


