Handleiding
Je bekijkt pagina 47 van 329
47
English
Fig.
2
Use the wall duct as pattern to mark the
hole spacing on the wall. Drill the holes
with a suitable power tool. Free the
holes from dust and mount the wall
duct using the supplied screws and
plugs. Connect the wall connector to
the wall adaptor.
Note:
• The exhaust hose can be expanded and
compressed, but for optimal performance,
keep the exhaust length to a minimum.
• Do not extend the exhaust hose.
• Avoid over-bending.
• Observe the decommissioning instructions
in the respective section, if the product is
not to be used for a longer period of time.
Window installation (Part: N, O, Q)
Fig.
3
The exhaust hose can be attached to
an open or tilted window alternatively.
Attach the window outlet adapter to
the open end of the exhaust hose.
Recommendation:
• For faster and better distribution of
the cold air, we recommend to use an
additional fan.
• If the exhaust air hose is routed to the
outside through a tilted window or door,
we recommend to seal the gap. For this
purpose, sealing sets are available in our
stores.
Drainage hose
The drainage hose is used to drain water from
the upper drain outlet.
Fig.
4
Remove the rubber plug from the upper
drainage outlet and slide the drainage
hose as far as possible onto the outlet.
Lead the other end of the drainage hose
into a suitable container or a nearby drain.
Note:
• Depending on the set modus the water
is either drained directly or collected in an
internal tank. Drain the water respectively.
• Attach the open end of the drainage hose
to the drainage hose holder, when not in
use.
Installation
Placement
When choosing an installation place, consider
the following points:
• Observe all safety warnings!
• Ensure the minimum surrounding distance
in every direction of 45 cm and 100 cm to
other electrical products.
• Keep a surrounding distance of minimum
50cm around the outside of the exhaust
wall outlet and protect it from entering
objects and moisture.
• Make sure the wall behind the product is
an exterior wall not a divider and the drill
holes can be made in a safe way, and are not
obstructed by hidden objects in the wall.
• Ensure that a suitable power outlet is within
reach at the desired location and remains
accessible after installation.
• Consider that during dehumidifying mode
water is collected inside the product, which
must be continuously drained through a
connected drainage hose into a suitable
container or a nearby drain.
• Ensure, that there are no obstacles
obstructing the airflow.
Note:
If the product has been transported in a
horizontal position, it must not be plugged
in for 24 hours, in order to avoid damages of
the cooling system.
Air exhaust
The exhaust hose and adaptor must be
installed or removed in accordance with the
usage mode:
• COOL mode: install exhaust hose
• FAN mode: no need to install exhaust hose
• DEHUMIDFY mode: install exhaust hose
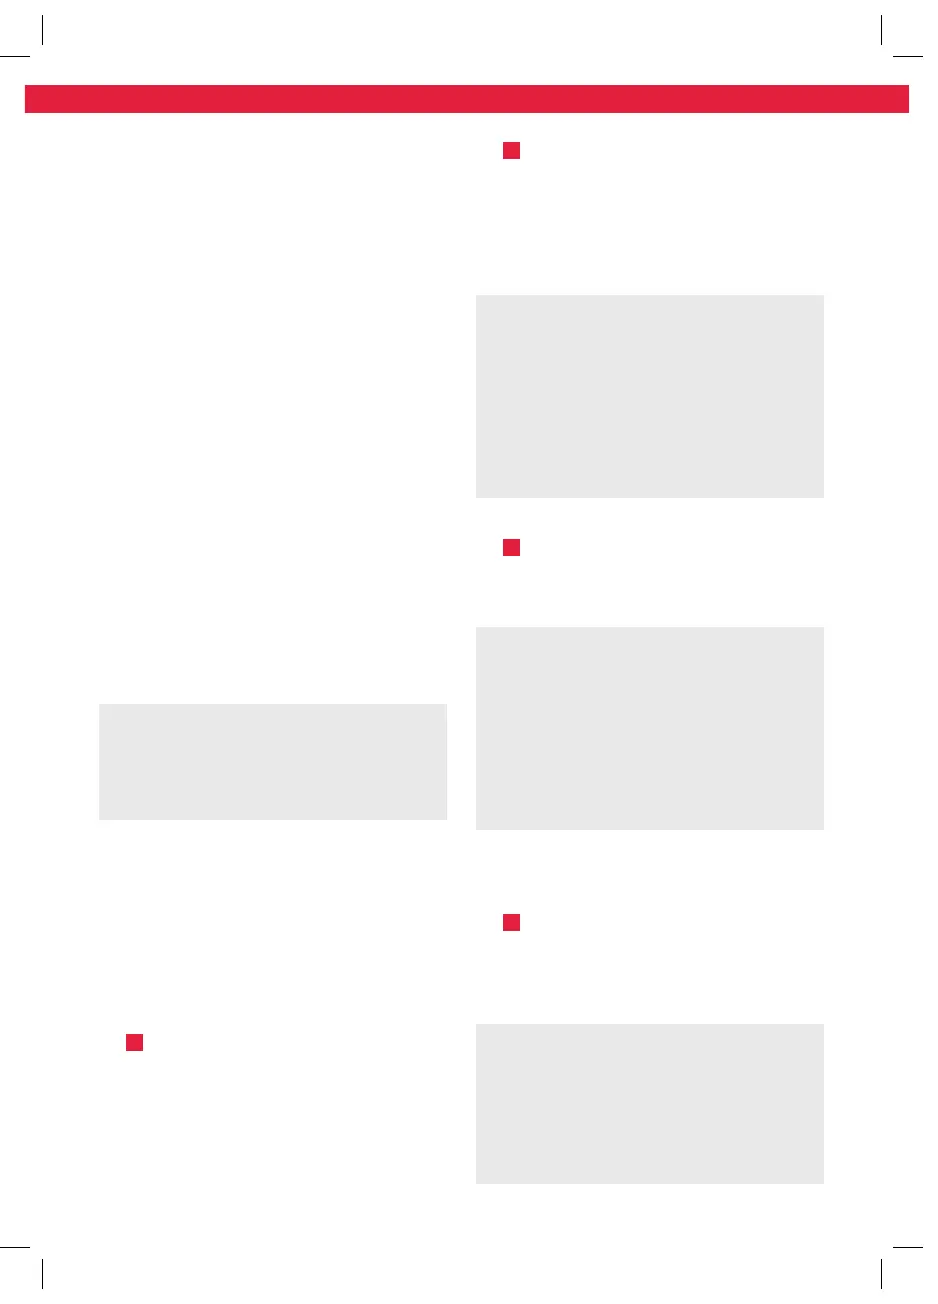
Wall mounting (Part: N, O, P)
Fig.
1
Connect the wall adapter and exhaust
adapter with each side of the exhaust
hose. Connect the exhaust adapter to
the air exhaust of the product.
IM_KAC 12022 WLAN_KAC 14022 WLAN_211109_V07_HR.indb 47IM_KAC 12022 WLAN_KAC 14022 WLAN_211109_V07_HR.indb 47 9/11/2021 16:069/11/2021 16:06
Bekijk gratis de handleiding van Koenic KAC 14022 WLAN, stel vragen en lees de antwoorden op veelvoorkomende problemen, of gebruik onze assistent om sneller informatie in de handleiding te vinden of uitleg te krijgen over specifieke functies.
Productinformatie
| Merk | Koenic |
| Model | KAC 14022 WLAN |
| Categorie | Airco |
| Taal | Nederlands |
| Grootte | 40056 MB |


