Handleiding
Je bekijkt pagina 50 van 78
HP Designjet 30/90/130 Printer series – Quick Reference Guide
49
English
The Problem is there is a Printhead Failure (continued)
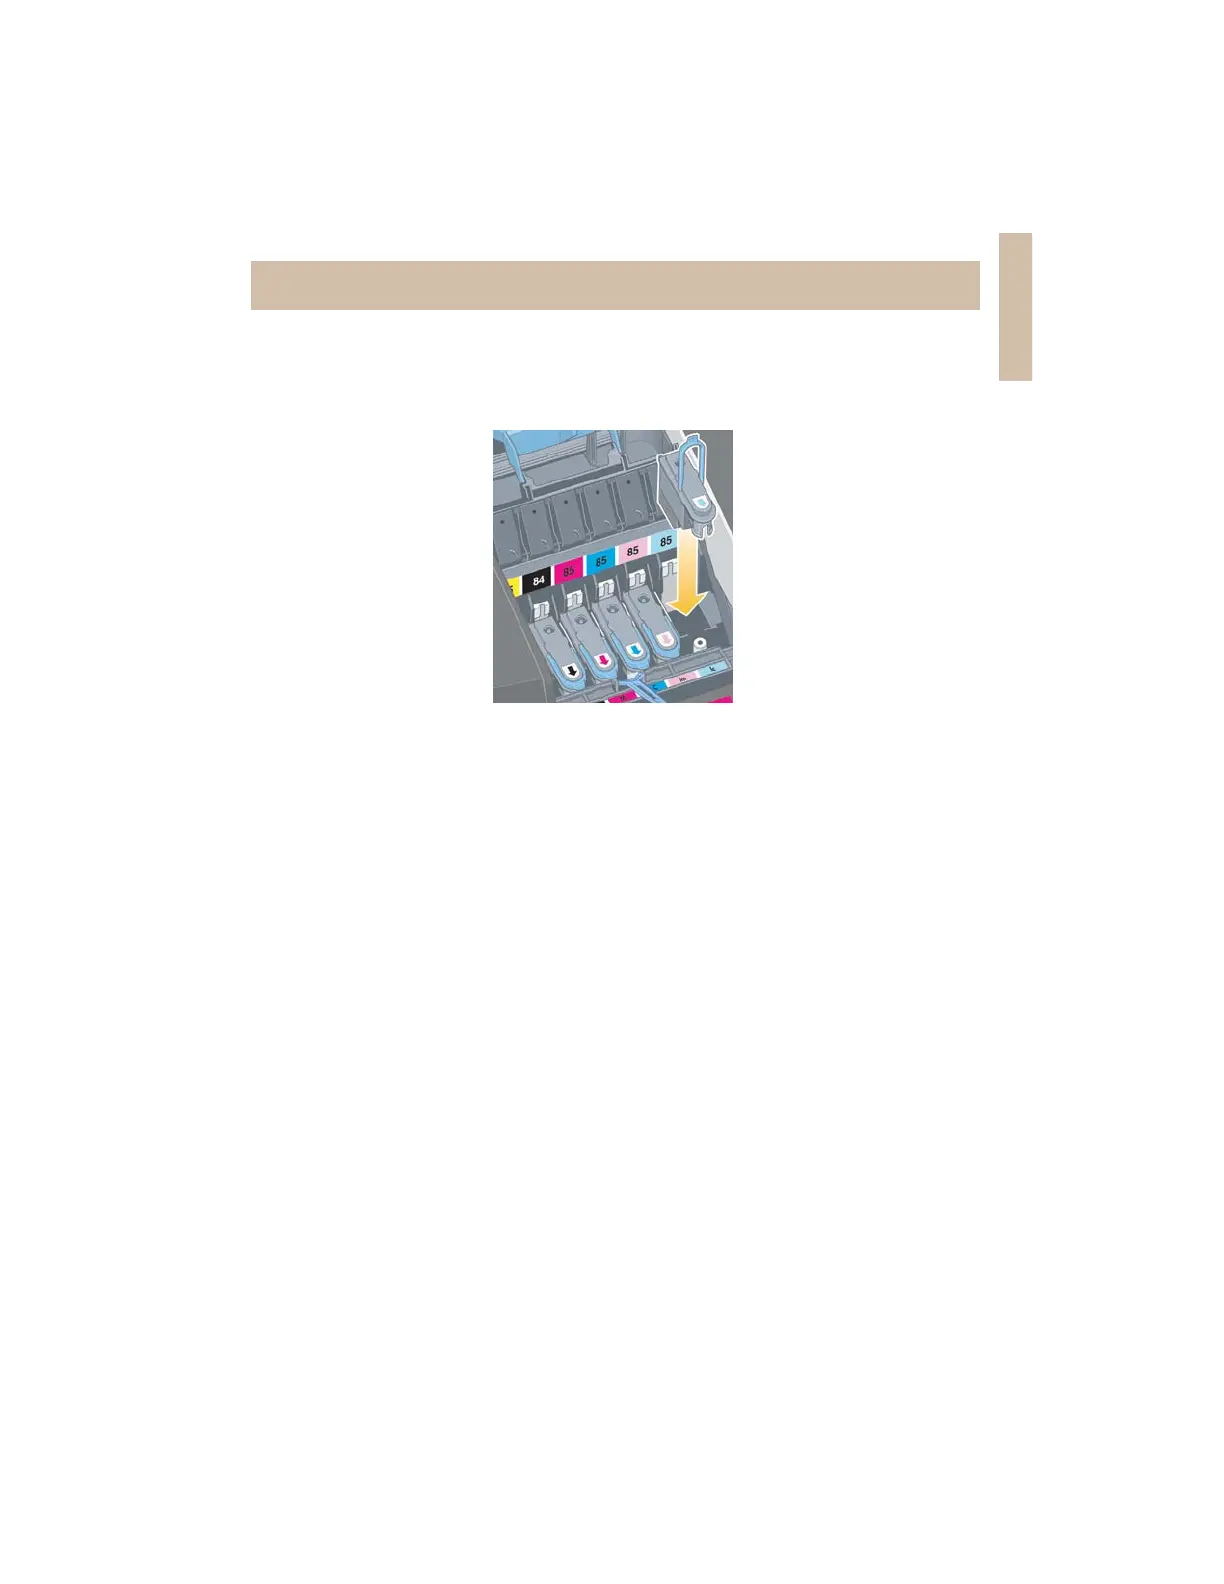
10.When both the printhead and the contacts inside the carriage are dry, re-
insert the printhead by lowering it into place and return the small handle to
its lower position. Press down firmly and evenly on both the front and the
back of the printhead to make sure it is correctly seated.
11.Push the printhead gently into place, so that it is secure.
12.Pull the printhead cover towards you, ensuring that the hook at its front edge
latches onto the tab, and then push it away from you to close the cover.
13.Plug in the printer power cable.
14.Close the rear part and then the front part of the outer flap. Note that after
closing the flap, the printer will automatically perform some internal
calibrations on the printhead, and then an alignment check. There must be
paper in the tray during alignment (you can use your least expensive paper).
Pre-alignment calibrations may take some time, especially if multiple
printheads have been removed and reinserted. Check that the alignment
print has a tick on it. The tick should be cyan.
15.Check that the printhead icon on the front panel is no longer flashing. The
printhead has been replaced successfully.
If the problem persists, replace the printhead, as described in “How Do I Clean
a Printhead?” on page 27.
Bekijk gratis de handleiding van HP Designjet 90, stel vragen en lees de antwoorden op veelvoorkomende problemen, of gebruik onze assistent om sneller informatie in de handleiding te vinden of uitleg te krijgen over specifieke functies.
Productinformatie
| Merk | HP |
| Model | Designjet 90 |
| Categorie | Printer |
| Taal | Nederlands |
| Grootte | 10948 MB |


