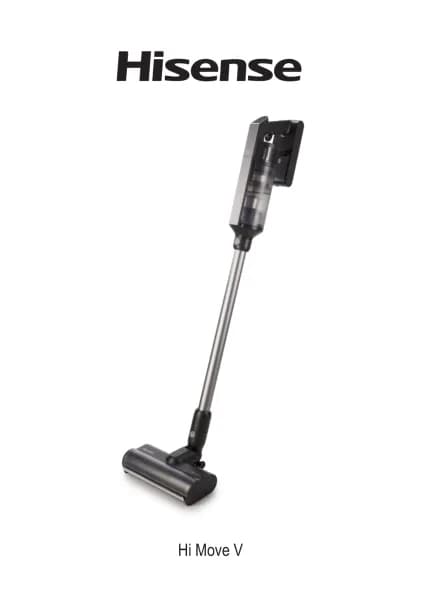
Hisense Hi Move VI handleiding
Handleiding
Je bekijkt pagina 22 van 92

For easier transport, some appliance parts are packed separately and safely placed in the main packaging unit. // Before first use, read and
follow the instructions for assembly and safe use. // The appliance is intended for dry vacuuming in a domestic environment.
PARTS
1
Housing with the motor, battery and dust container
2
Suction hose
3
Motorised floor brush
4
2-in-1 nozzle
5
Longer narrow nozzle
6
Wall bracket
7
Adapter
INSTALLATION
Insert the battery into the motor housing. //Connect the upper part of the hose to the motor unit and the lower part to the
floor brush. The installation is correct when the appliance is firmly fixed all the way to the grooves (you hear a slight click,
no matter which setting you are using).
There is a charging station in the kit, on which you can install two smaller nozzles. Follow the attached pictorial instructions
for installation. //Keep the charging station at least 1 m away from any heating bodies. // Due to its shape, the appliance is
not self-standing.
USE
Brushes and nozzles fit both the hose and the motor unit. // By pressing the button on the brushes and nozzles, you can
freely switch between them, as they are intended for various uses. They are placed correctly when you hear a short click.
–
The floor brush is used to vacuum all floor surfaces (vacuuming dry floor surfaces). Do not try to vacuum high fibre
carpets as they may become entangled in the roller brushes and damage the vacuum cleaner.
–
The narrow nozzle is intended for vacuuming narrower and more difficult-to-reach parts (corners, sofas, cobwebs,
spots behind radiators...).
–
Nozzle with bristles (for frames, drawers...). Pull the bristle nozzle out of the attachment and turn it around.
CHARGING
Charge the vacuum cleaner at least 1 m away from any heating surfaces. // The appliance cannot be switched on while
charging.
The adapter with the vacuum cleaner charging cable is included in the delivery. // By pressing the button on the vacuum
cleaner battery, you can safely remove the battery, which can also be charged separately from the vacuum cleaner. //
During charging, the battery percentage will appear on the display unit.
OPERATION
The display shows various functions:
-
The appliance has a digital battery charge display. It digitally displays the battery charge during use or charging.
-
The crossed-out roller symbol lights up if a foreign object gets stuck in the brush. When this symbol is lit, remove the
foreign object.
-
When selecting the speed, the display shows you how much time you have left to vacuum before the battery runs out.
// You can choose between two different speeds: MAX (up to 10 min), AUTO (up to 50 min).
-
On/off button.
DISPOSAL OF THE APPLIANCE
If you want to replace the appliance or you no longer need it, you should also think about protecting the environment.
The battery must be removed before disposing of the vacuum cleaner. // To safely remove the battery, make sure that the
battery is completely discharged. If the appliance does not have a removable battery, follow the instructions given in the
booklet with figures.
DUST CONTAINER AND FILTERS
1
Dust container and filters
Remove the hose from the motor unit. // To clean the dust container, push the button on the side of the container. // The
lower part of the dust container will open. This allows the dust to be removed from the container. // When removing the
container from the motor unit, be careful not to drop and damage it. // Press on the front side of the container. //Tilt and lift
the dust container as shown in the figure. //Remove the filter and the filter rim from the container and empty them. // The
container, sleeve and filter can be wiped, shaken or washed with lukewarm water. Be careful, as improper use can damage
parts of the vacuum cleaner. // Ensure that all parts are completely dry before reinstalling the container back onto the
appliance. // To install the inner parts of the container, reassemble the vacuum cleaner correctly. // Never vacuum without
the dust filter inserted.
2
Replacing the filter
If you notice that the filter is damaged, replace it immediately. With regular use, we recommend replacing the filter every 6
months to ensure the longest life of the vacuum cleaner.
FLOOR BRUSH
Press the button on the side of the brush to release the brush pin, remove the brush from the housing and wipe the
underside of the housing with a cloth. Clean the suction hose of the brush. Shake the roller on the brush and carefully cut
off the accumulated waste and hair on the brush with a scissor. Do not pull on the hair or waste so as not to damage the
bristles. When replacing the roller, pull the plastic part that is attached to the roller and install a new roller. // Install the roller
back into the brush. // The roller is correctly positioned when a slight click is heard and the side pin is securely attached to
the brush housing.
Bekijk gratis de handleiding van Hisense Hi Move VI, stel vragen en lees de antwoorden op veelvoorkomende problemen, of gebruik onze assistent om sneller informatie in de handleiding te vinden of uitleg te krijgen over specifieke functies.
Productinformatie
| Merk | Hisense |
| Model | Hi Move VI |
| Categorie | Stofzuiger |
| Taal | Nederlands |
| Grootte | 10198 MB |


