Handleiding
Je bekijkt pagina 15 van 16
14
Hang the Screen
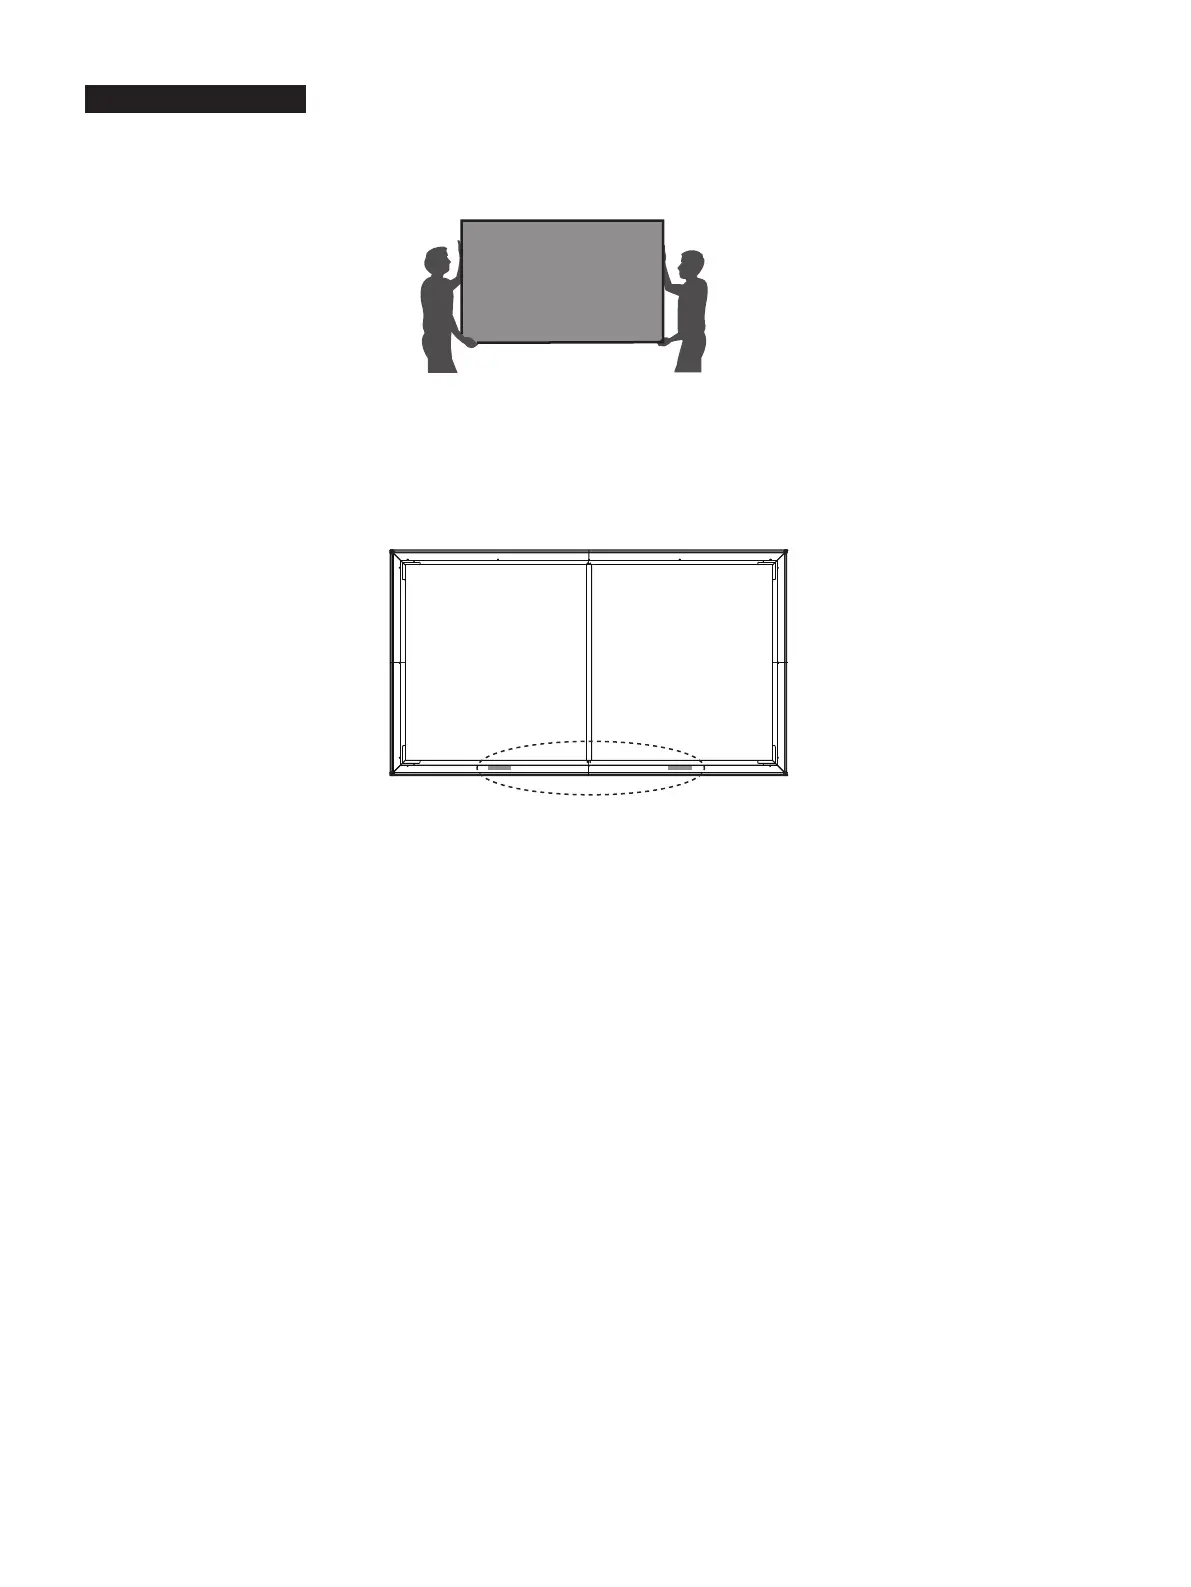
1.
We strongly recommend that two people handle this screen when moving it. Be sure to use gloves (included) to protect the screen
from grease, sweat and dirt.
2.
Place the assembled screen vertically on the ground.
Look at the screen horizontally
, and if you nd the material is black, it is in
the correct direction and ready for mounting on the wall. However, if the material is white, turn around the screen and then install
it.
3. Split the release paper on one side of the velcro strips. Paste the velcro strips on the left and right side of the bottom of the
screen (on the back side of the screen).
4.
Place the screen onto the brackets.
NOTE:
We do not recommend mounting the laser TV console to the ceiling. If you choose to, the orientation of the
screen will need to be reversed. Because in that case the function of offsetting the environment light will be diminished.
5.
Adjust the Height of the Screen
Attach the handles of the wands on the wall-mount brackets and adjust the height of the screen. Refer to the top border to
match the screen to the display image.
WARNING:
Do not look directly at the lens when this device is on because the laser light may damage your eyes!
Bekijk gratis de handleiding van Hisense 120L9HTUKA, stel vragen en lees de antwoorden op veelvoorkomende problemen, of gebruik onze assistent om sneller informatie in de handleiding te vinden of uitleg te krijgen over specifieke functies.
Productinformatie
| Merk | Hisense |
| Model | 120L9HTUKA |
| Categorie | Televisie |
| Taal | Nederlands |
| Grootte | 1800 MB |


