Handleiding
Je bekijkt pagina 28 van 36
Secure with same
EN
28
12 - Installation
WARNING!
If the supply cord is damaged, it must be replaced by the service agent (see warranty card) in
order to avoid a hazard!
12.6 Reversing the door
X Before you start, unplug the dryer from the socket.
X Handle parts carefully to avoid scratching paint.
X Provide a non‑scratching work surface for the doors.
X Tools you will need: Phillips‑head screwdriver.
X Once you begin, do not move the cabinet until door reversal is completed.
X
These instructions are for changing the hinges from the right side to the left side. If you want
to switch them back to the right side, follow these same instructions and reverse all references
from left to right.
1. Remove the door assembly
Open the door. Remove the two screws holding the hinge/door assembly to the dryer.
Carefully set the hinge/door assembly aside (Fig. 12‑4).
2. Remove, rotate and replace the inner door
Remove the eight stickers and screws securing the inner door to the outer door.
Dismantle the inner door, rotate it 180° and reinstall it into the outer door using the same eight
screws and stickers (Fig. 12‑5).
3. Remove, rotate and replace the door lock & strike plate
Remove the two screws holding the strike plate, and then remove one screw of the door lock,
push down and take out the lock, rotate 180° and install it on the opposite side using the same
3 screws and strikes (Fig. 12‑6).
4. Rotate and replace the hinge/door assembly
Rotate the hinge/door assembly and screw it on the dryer (Fig. 12‑7).
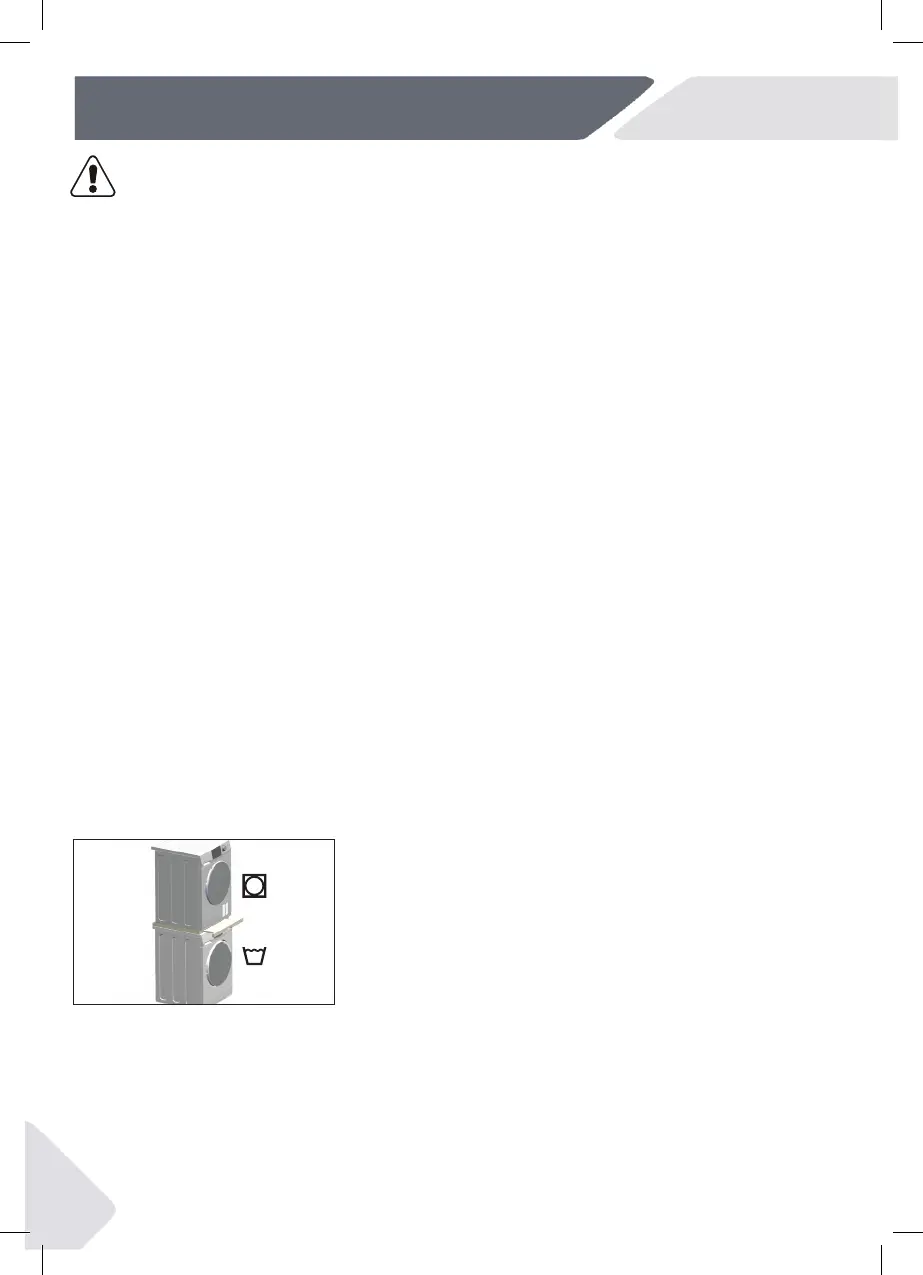
12.7 Wash-dryer stack
It is possible to achieve a washer‑dryer stack (Fig. 12‑8).
Not every washing machine is suitable for this purpose.
Stacking information, as well as the corresponding mounting
kit are available via your local dealer.
The mounting instructions are supplied with the kit which
thoroughly inform the installation steps.
12.8 Level the dryer
It is IMPORTANT to level the dryer to ensure the machine runs e ciently with minimal noise. The
dryer should be levelled in, so it stands balanced evenly on all four feet. Ensure the dryer does
not rock in any direction.
12‑8
Temp_UM_TD_Haier_x9_EN.indd 28Temp_UM_TD_Haier_x9_EN.indd 28 18/02/2025 15:20:2818/02/2025 15:20:28
Bekijk gratis de handleiding van Haier HD100-CQ387U1, stel vragen en lees de antwoorden op veelvoorkomende problemen, of gebruik onze assistent om sneller informatie in de handleiding te vinden of uitleg te krijgen over specifieke functies.
Productinformatie
| Merk | Haier |
| Model | HD100-CQ387U1 |
| Categorie | Wasdroger |
| Taal | Nederlands |
| Grootte | 5743 MB |


