Handleiding
Je bekijkt pagina 7 van 36
-9- -10-
■ Electrical connection
■ Safety distances
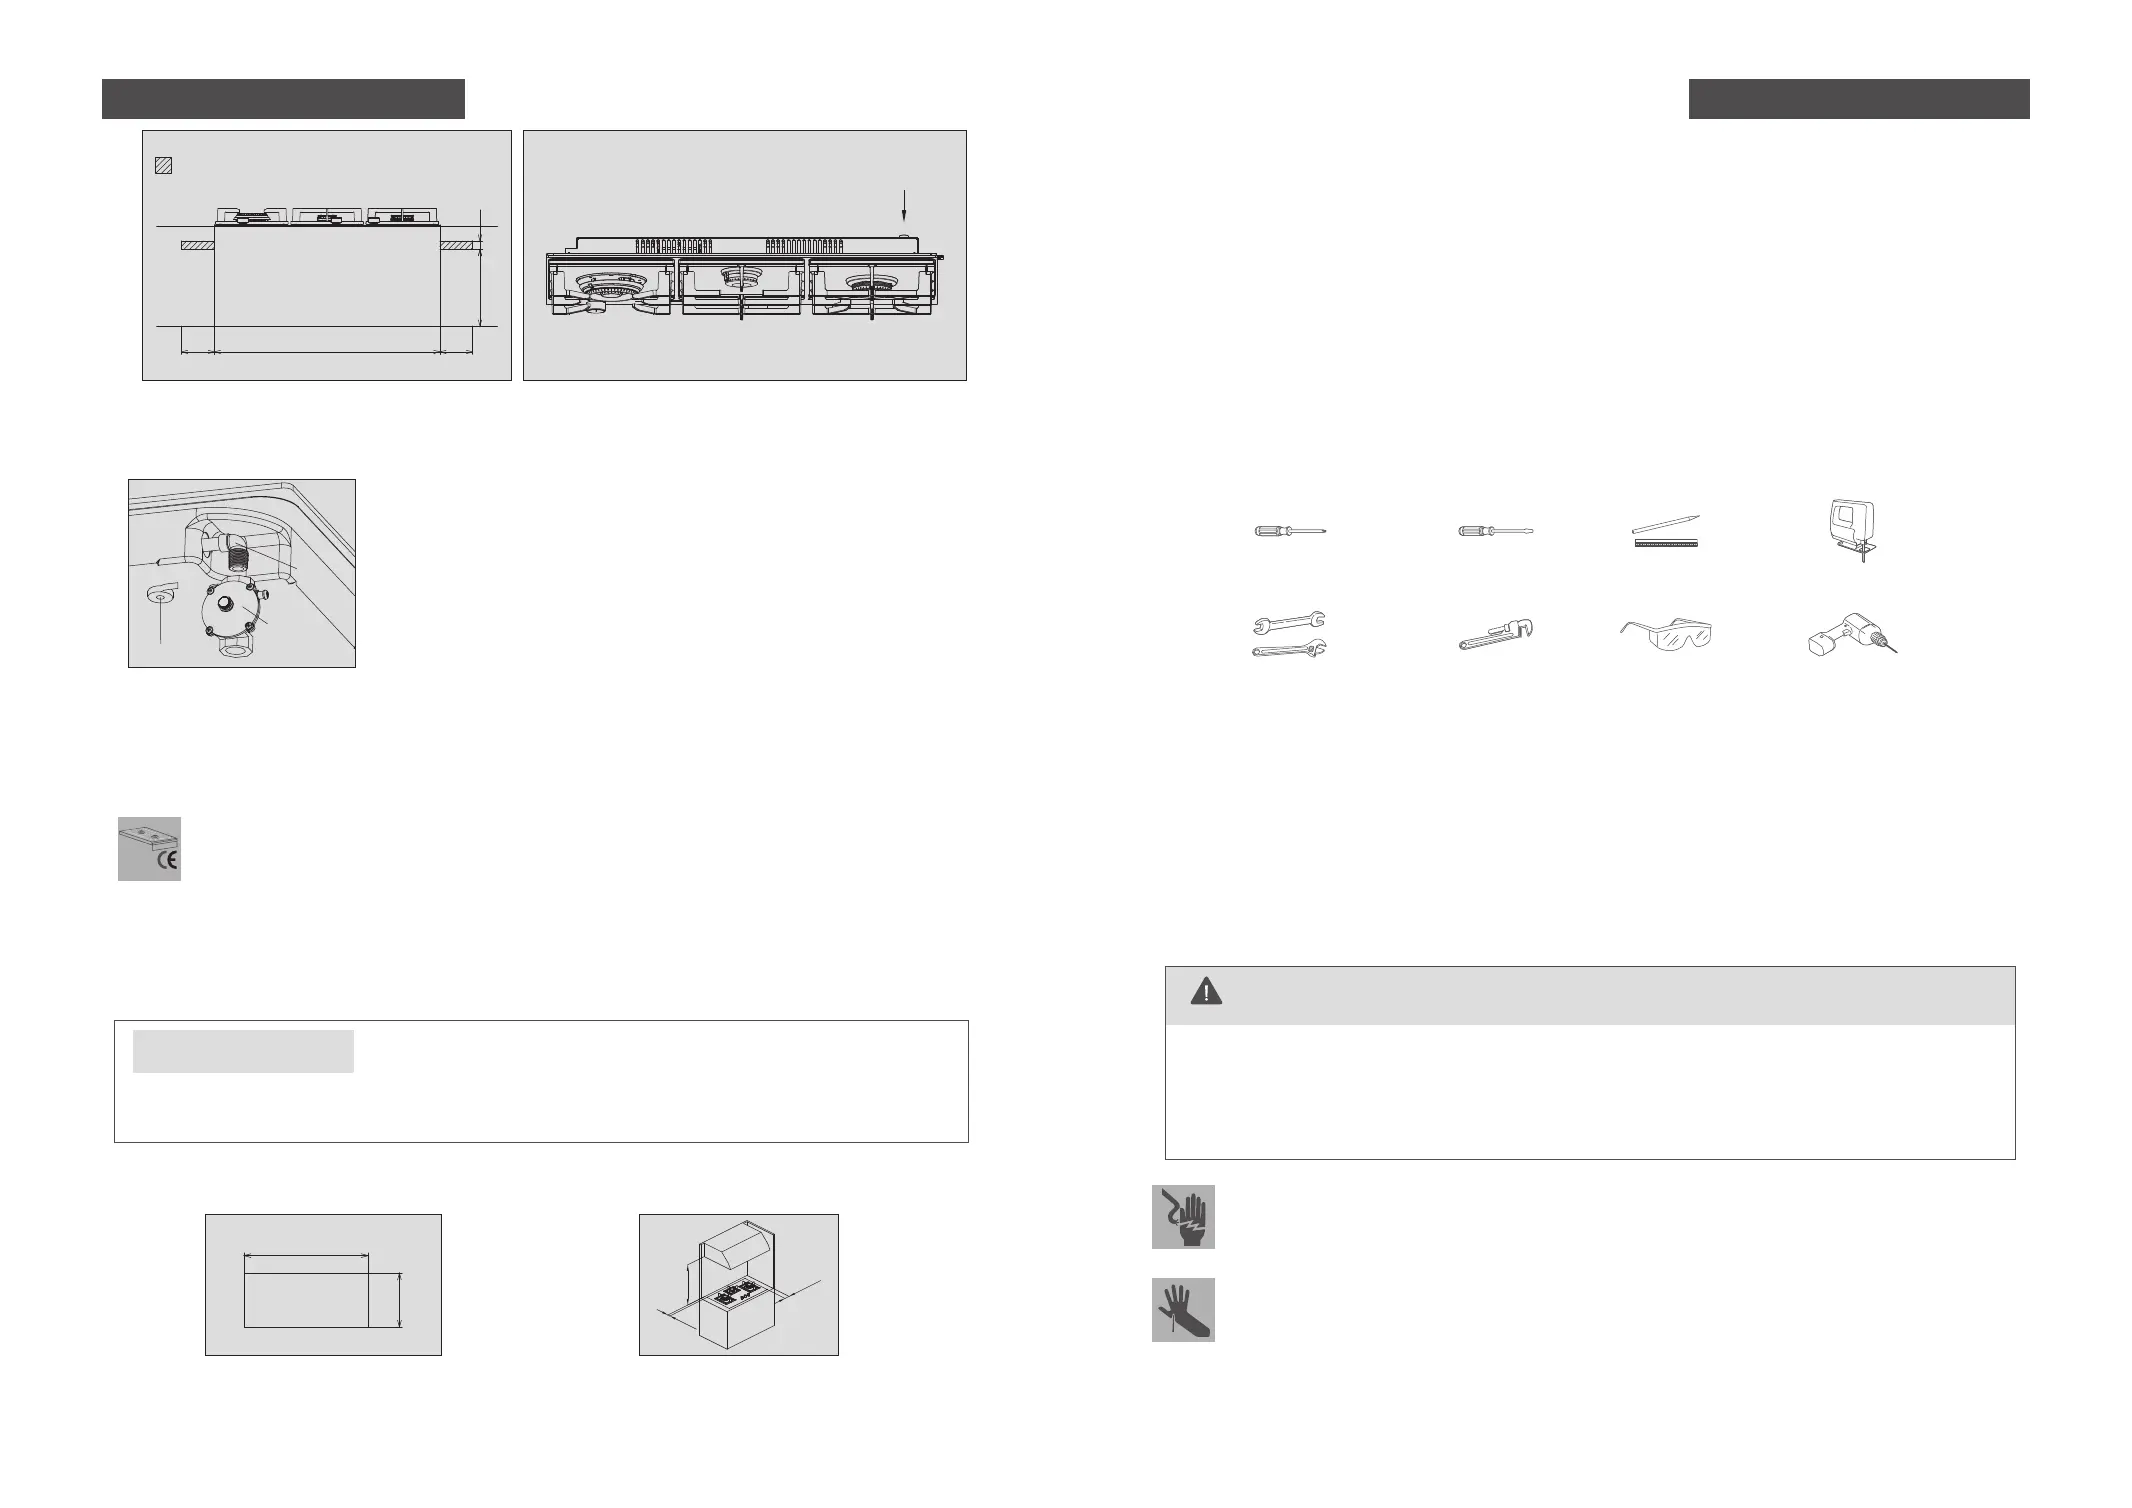
If it's GLG90305&GLG90305-Y, please create an opening with the dimensions 816mm(W)×460mm
(D). If it's GLG90505, please create an opening with the dimensions 844mm(W)×488mm(D). If it‘s
GLG60305&GLG60305-Y,please create an opening with the dimensions 554mm(W)x478mm(D).
shown in the figure 3. Keep a minimum clearance of 117mm from the rear edge to the combustible
material and 130mm from the side edges to the combustible material. Make sure there is a
minimum of 650mm between the work surface and the range hood that may be installed directly
above them (figure 4).
117
650
130
Fig.4Fig.3
W
D
Installation instructions Installation procedure
When the gas cooker is powered on for the first time, the interface will display "E1" error. If this
happens, adjust the knob to OFF, does not represent a problem with the gas cooker
IMPORTANT
unit:mm
Make sure that using alternating current (AC) as power supply connect the product with the
power supply and operate rightly.
● Connection of AC.
Make sure that the voltage and capacity of the power supply cable conform to the data
shown on the plate located under the protective cover.
The power supply cable plug and the wall socket must be of the same type and conform to
the current electrical system regulations.Make sure that the power line is adequately earthed.
On the power line, install an all-pole disconnect switch with minimum contact gap of
3mm located at an easily accessible position near the appliance.
Do not use reducers, adapters or shunts.
■ Tools & materials you will need
• Gas line shut-off valve
• Professional gas pipeline sealing materials that resists action of natural and ULPG gases
• Flexible metal appliance connector (R 1/2").
A 5-foot length is recommended for ease of installation but other lengths are acceptable
Never use an old connector when instaling a new cooktop.
• Flare union adapter for connection to gas supply line (R 1/2")
• Flare union adapter for connection to pressure regulator on cooktop(R 1/2").
• Liquid leak detector or soapy water
Phillips screwdriver
Open-end or
adjustable wrench
3/16" Flat-blade
screwdriver
Pipe wrencher(2)(one
for backup)
Pencil and ruler
Safety Glasses
Saber Saw
1/8 Drill bit&elec-
tric or hand drill
Please read the following instructions, as well as the Important Safety Instructions section at the
front of this manual, completely and carefully BEFORE installing and/or operating the gas cooktop.
Improper installation, adjustment, service, or maintenance can cause personal injury or property
damage.
WARNING
Electrical shock hazard
Failure to do so could result in electrical shock or death.
Cut hazard
Take care-panel edges are sharp.
Failure to use caution could result in injury or cuts .
figure 2
Inlet connection
figure 1
Inlet connection region for flexible hose
Width of appliance 250250
800 50
■ Gas connection
Important
Insure the Elbow and NG regulator are connected by PTFE.
Elbow
PTFE
Regulater
Bekijk gratis de handleiding van Fotile GLG90505, stel vragen en lees de antwoorden op veelvoorkomende problemen, of gebruik onze assistent om sneller informatie in de handleiding te vinden of uitleg te krijgen over specifieke functies.
Productinformatie
| Merk | Fotile |
| Model | GLG90505 |
| Categorie | Fornuis |
| Taal | Nederlands |
| Grootte | 13818 MB |

