Handleiding
Je bekijkt pagina 13 van 200
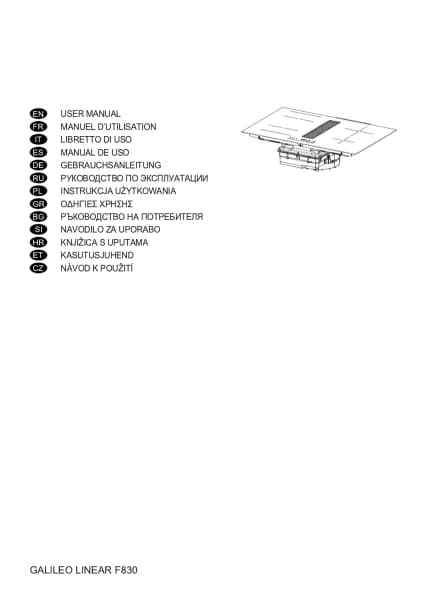
Func-
tion
Delay
This function is only available if Automatic mode is
deactivated. Automatic mode is deactivated by
pressing “A”.
Press the suction hood Digit and set a speed on
the power bar.
Press the Timer management Digit, which was dis-
playing “CL” but will change to the countdown. This
is pre-set to 15 minutes.
Timer symbol
After selecting the suction hood Digit, press the
Timer Management Digit to set the countdown.
Grease filter maintenance symbol
The grease filter cleaning signal is displayed by
LED and it is always enabled.
Charcoal filter maintenance symbol
The hood is set by default to ducting mode. With
no loads on, press the Hood controls digit to en-
able the suction hood. Press and hold the Digit
again for 5 seconds to:
Activate the charcoal filter:
The charcoal (odour) filter symbol lights up for 1
second.
Deactivate the charcoal filter:
The charcoal (odour) filter symbol flashes twice.
After activation, the icon will light up to indicate that
maintenance must be carried out on the charcoal
(odour) filter .
Reset and reactivation of the charcoal filter
After having carried out maintenance on the filter:
press and hold for 5 seconds. - The LED of the
grease filter will turn off and the countdown will re-
start.
press and hold for 5 seconds. - The LED of the
odour filter will turn off and the countdown will re-
start.
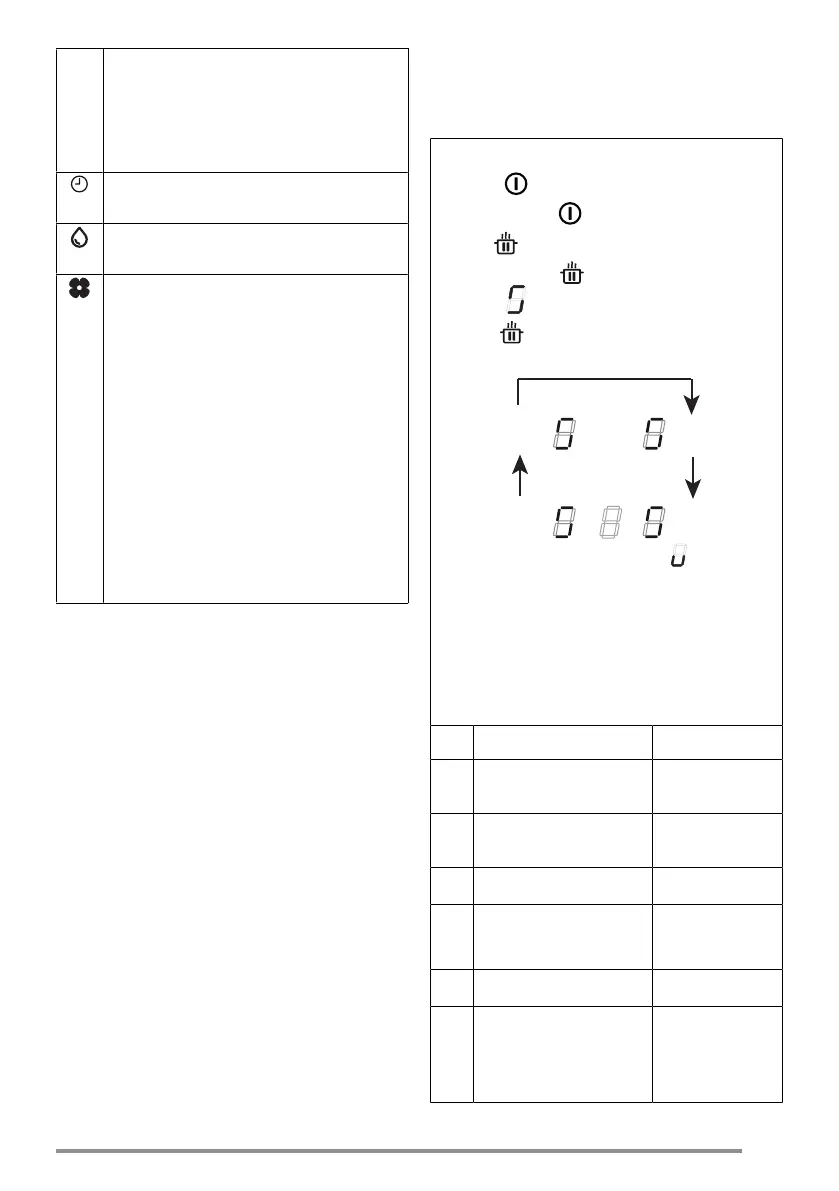
13. USER MENU
CUSTOMISATION
Before carrying out the procedure it is advisable to read the
entire paragraph.
– Press .
– Press and hold again for 3 seconds.
– The key starts flashing.
– Press and hold : the digits in the cooking area in-
dicate .
– Hold and start pressing the digit of the cooking
areas in clockwise order starting from the left front
one.
4
3
1
2
The rear left digit alternately indicates and a number
from 2 to 7 indicating the menu code.
The front left digit indicates a number which depends on
the parameters indicated in the selection.
– Press the left rear digit.
– Select a number on the power bar to access the
menu code.
– Press the left front digit.
– Select a number on the power bar to select a value.
See the following table for the specifications:
Menu
code
Description Value
U2
Key sound volume control
menu.
0 - Sound disabled
1 - Min.
3 - Max.
U3
Countdown beeper volume
control menu.
0 - Sound disabled
1 - Min.
3 - Max.
U4
Display brightness level con-
trol menu.
0 - Max.
9 - Min.
U5
Countdown display control
menu.
0 - Countdown dis-
play disabled
1 - Countdown dis-
play enabled
U6
Pan detection menu. 0 - Enabled
1 - Disabled
U7
Countdown end management
menu.
0 - Continuous flash-
ing and shut-down
1 - Ten flashes and
shut-down
2 - One flash and
shut-down
13
Bekijk gratis de handleiding van Faber The Galileo Smart 60, stel vragen en lees de antwoorden op veelvoorkomende problemen, of gebruik onze assistent om sneller informatie in de handleiding te vinden of uitleg te krijgen over specifieke functies.
Productinformatie
| Merk | Faber |
| Model | The Galileo Smart 60 |
| Categorie | Fornuis |
| Taal | Nederlands |
| Grootte | 23327 MB |