Draper Expert 71205 handleiding
Handleiding
Je bekijkt pagina 2 van 2
Helpline: +44 (0) 23 8049 4344 Sales Desk: +44 (0) 23 8049 4333 General Enquiries: +44 (0) 23 8026 6355 Website: drapertools.com Email: sales@drapertools.com
Draper Tools Limited, Hursley Road, Chandler’s Ford, Eastleigh, Hampshire, SO53 1YF, UK 0724
4. Assembly Instructions
5. Operation and Use
Please visit drapertools.com/manuals for the latest version of this manual and the associated parts list, if applicable.
• Screw the trigger assembly (E) onto the collection pot (C).
• Attach an appropriate air line connector suitable for the air line inlet (D) into the base of the handle (use PTFE tape to achieve an air tight seal). Ensure the air
pressure is regulated to between 70 – 120psi.
• Select the reservoir top-up bottle most suitable for the access position under the bonnet. If the bottle can only access the reservoir from approximately 45°,
use the bottle with the adjustable lid (B). However, if the bottle can hang directly over the reservoir, use the other bottle (A).
• Fill the reservoir top-up bottle with clean brake uid of the correct type as recommended in the vehicle manufacturers handbook and secure the lid tightly.
• WARNING: Not all vehicles can be vacuum bled. Always check with the vehicle manufacturer or Haynes manual on the correct bleeding procedure.
• Remove the brake uid reservoir cap on the master cylinder. Upturn and immerse the top-up bottle (A) or (B) in the brake uid so that any holes in the nozzle
are completely covered. This will ensure the level of the uid in the reservoir remains constant.
• DO NOT at any time, during the bleeding process, allow the reservoir to completely drain as this will result in air being introduced into the brake system which
will necessitate a complete system bleed and brake check/diagnosistic re-set.
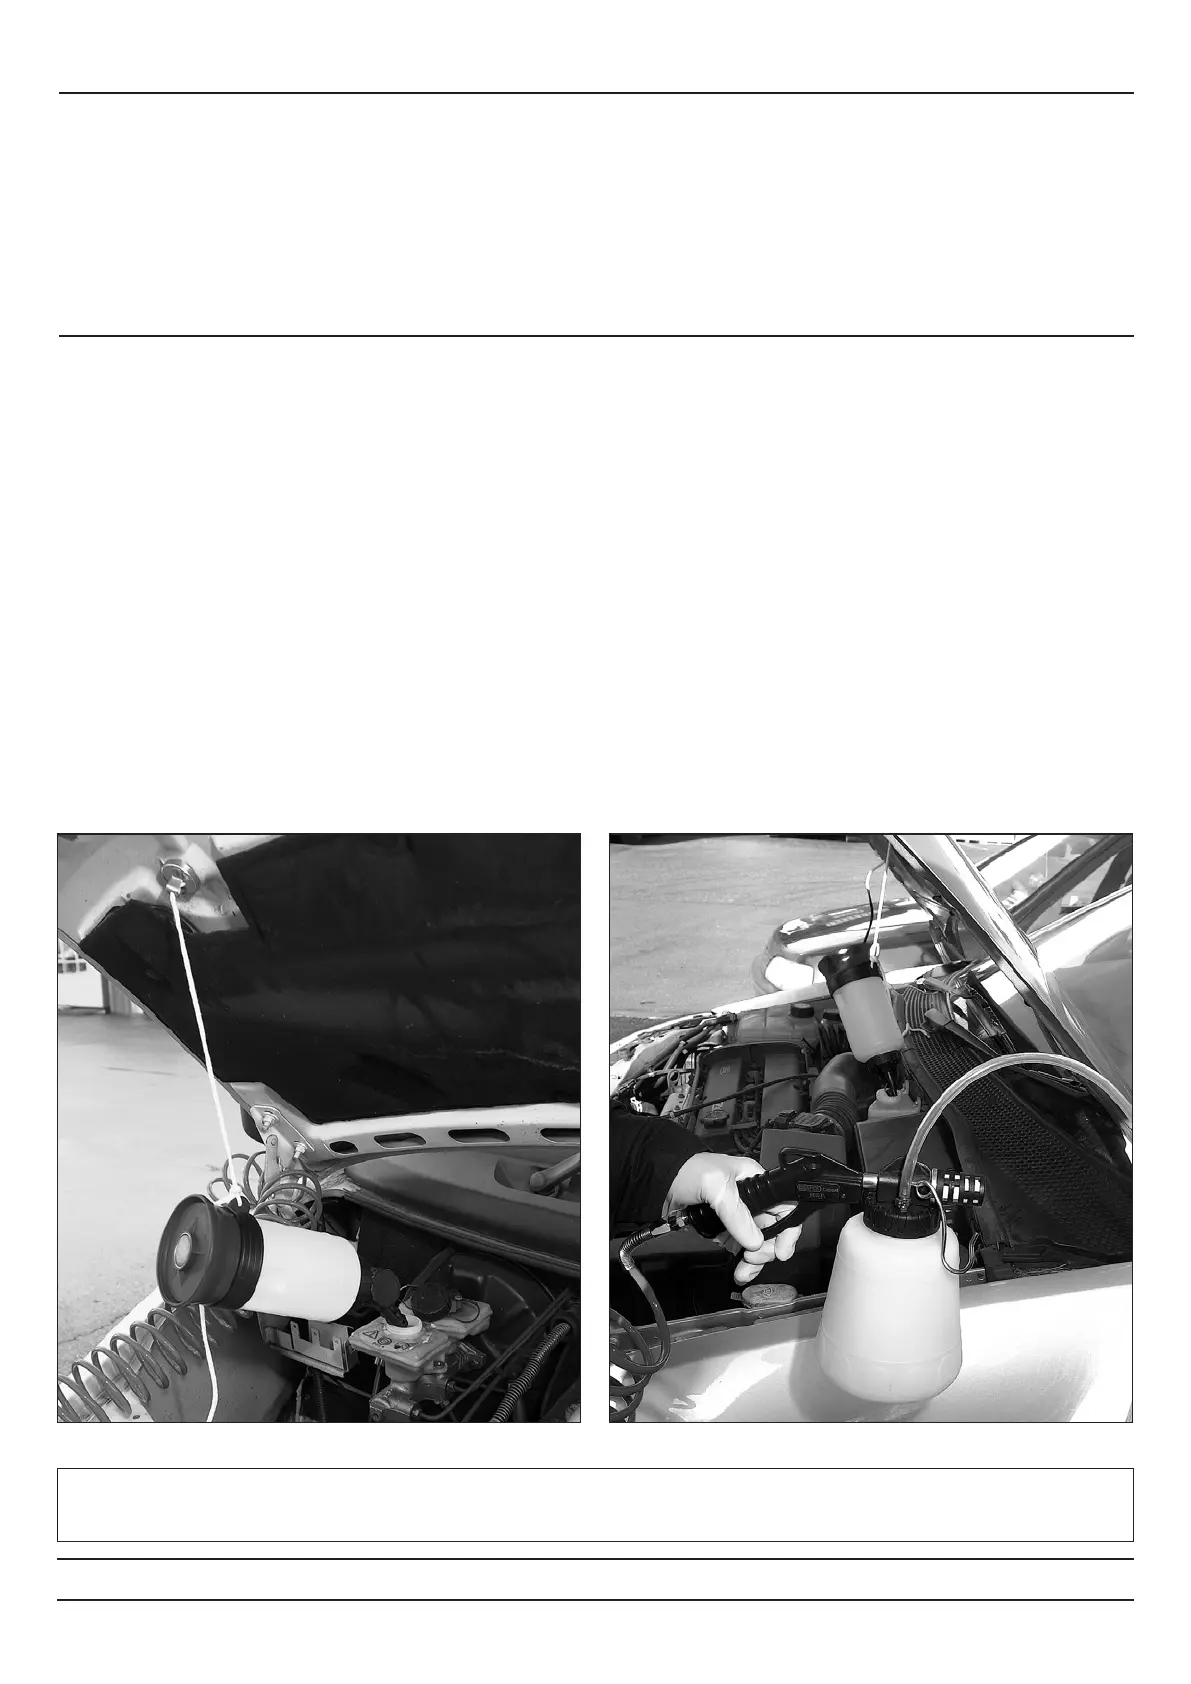
• Secure the top-up bottle to the underside of the bonnet with the magnets (H) and ensure that it cannot move suciently to spill or fall out of the reservoir. It
must be allowed to top-up freely (Fig.2).
• Secure the vehicle to allow access to the brake bleed nipple (removal of the appropriate wheel may be necessary).
• Connect the hose attachment (G) with the bleed nipple connected (F) to the nipple and attach the air line connector (D) to the air line. Open the bleed nipple
(as indicated in the vehicle manufacturers handbook) to allow the uid to ow out freely.
• Pull the trigger (E) and the vacuum created will begin to draw the old/dirty uid out (Fig.3).
• NOTE: Notice the colour of the brake uid as it begins to come out into the collection pot (C) and when a noticeable change in colour appears, i.e. clean uid,
let o the trigger and close the nipple.
• Carry out this procedure for all brake bleed nipples; however, during the process, take note that the amount of dirty brake uid removed does not exceed
either the capacity of the collection pot or the amount being topped up. It may be necessary to stop and rell the top-up bottle or empty the collection pot.
When the bleeding is complete, adjust the level in the reservoir according to the vehicle handbook and replace the cap. Pump the brake pedal ve or ten times
without the engine running to ensure the pedal becomes rm.
Fig. 2 Fig. 3
Delta International BV, Oude Graaf 8, 6002 NL, Weert, Netherlands
Bekijk gratis de handleiding van Draper Expert 71205, stel vragen en lees de antwoorden op veelvoorkomende problemen, of gebruik onze assistent om sneller informatie in de handleiding te vinden of uitleg te krijgen over specifieke functies.
Productinformatie
| Merk | Draper |
| Model | Expert 71205 |
| Categorie | Niet gecategoriseerd |
| Taal | Nederlands |
| Grootte | 1202 MB |


