Handleiding
Je bekijkt pagina 24 van 150
IDW520 User Guide Setting up the Printer
DNP Imagingcomm America Corporation 24
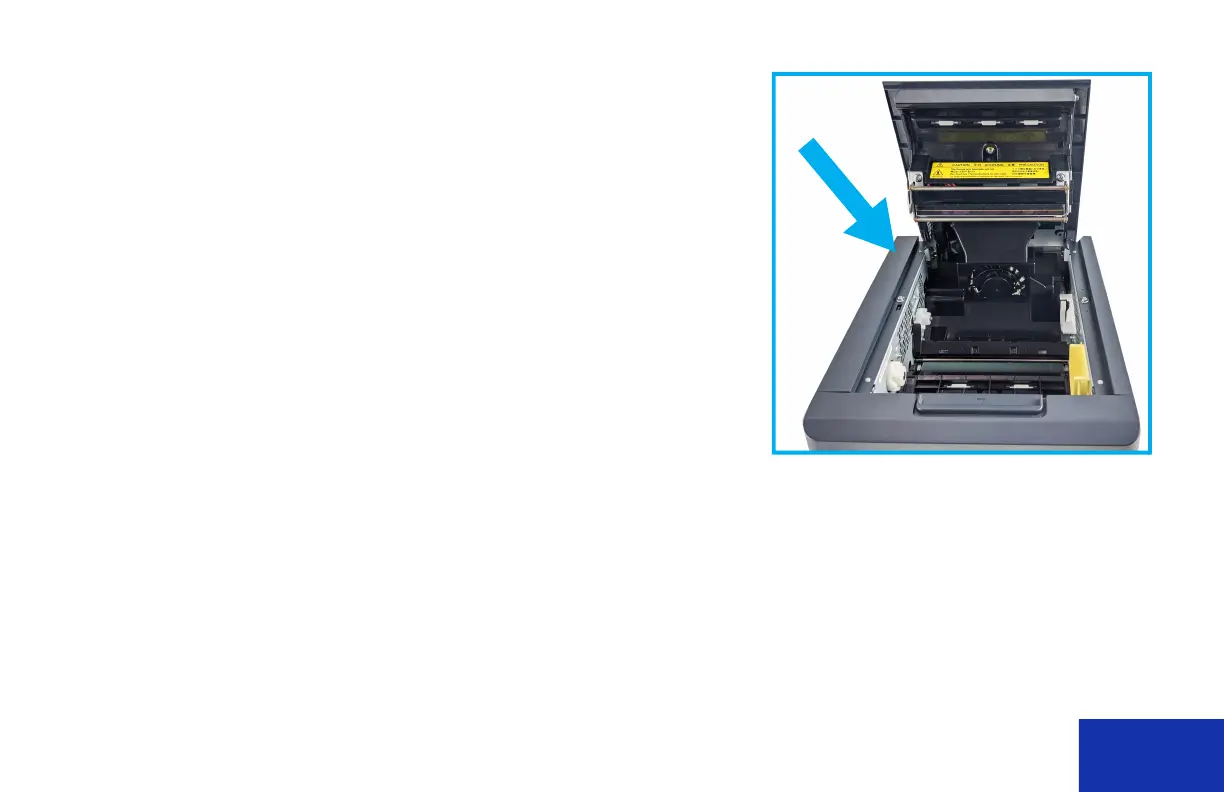
3. Place the ribbon in the printer. Place the left sides of the ribbons onto
the printer flanges one at a time. Press the right sides of the ribbons into
their holders until they click into place. Remove any slack from the
ribbon by rotating the ribbon towards the supply side. Close the ribbon
compartment.
NOTE: The yellow ribbon flange is inserted into the yellow holder.
4. Wait for the blank prints. With the printer turned ON, the printer will
initialize and eject 3 blanks sheets of paper. The Power / Ready light will
remain lit. The printer is ready to print. If the error light remains lit,
recheck that the paper and ribbon are loaded correctly.
5. Install the paper tray. The paper tray can hold up to 20 prints. However,
it is recommended that prints are removed from the tray at regular
intervals to prevent paper jams.
NOTE:
The POWER LED light turns green when the ribbon, paper, and scrap bin are properly installed. If
the ERROR LED flashes red, make sure ribbon, paper, and scrap bin are properly seated.
Place this
side first
Bekijk gratis de handleiding van DNP IDW520, stel vragen en lees de antwoorden op veelvoorkomende problemen, of gebruik onze assistent om sneller informatie in de handleiding te vinden of uitleg te krijgen over specifieke functies.
Productinformatie
| Merk | DNP |
| Model | IDW520 |
| Categorie | Printer |
| Taal | Nederlands |
| Grootte | 11637 MB |
