Handleiding
Je bekijkt pagina 112 van 146
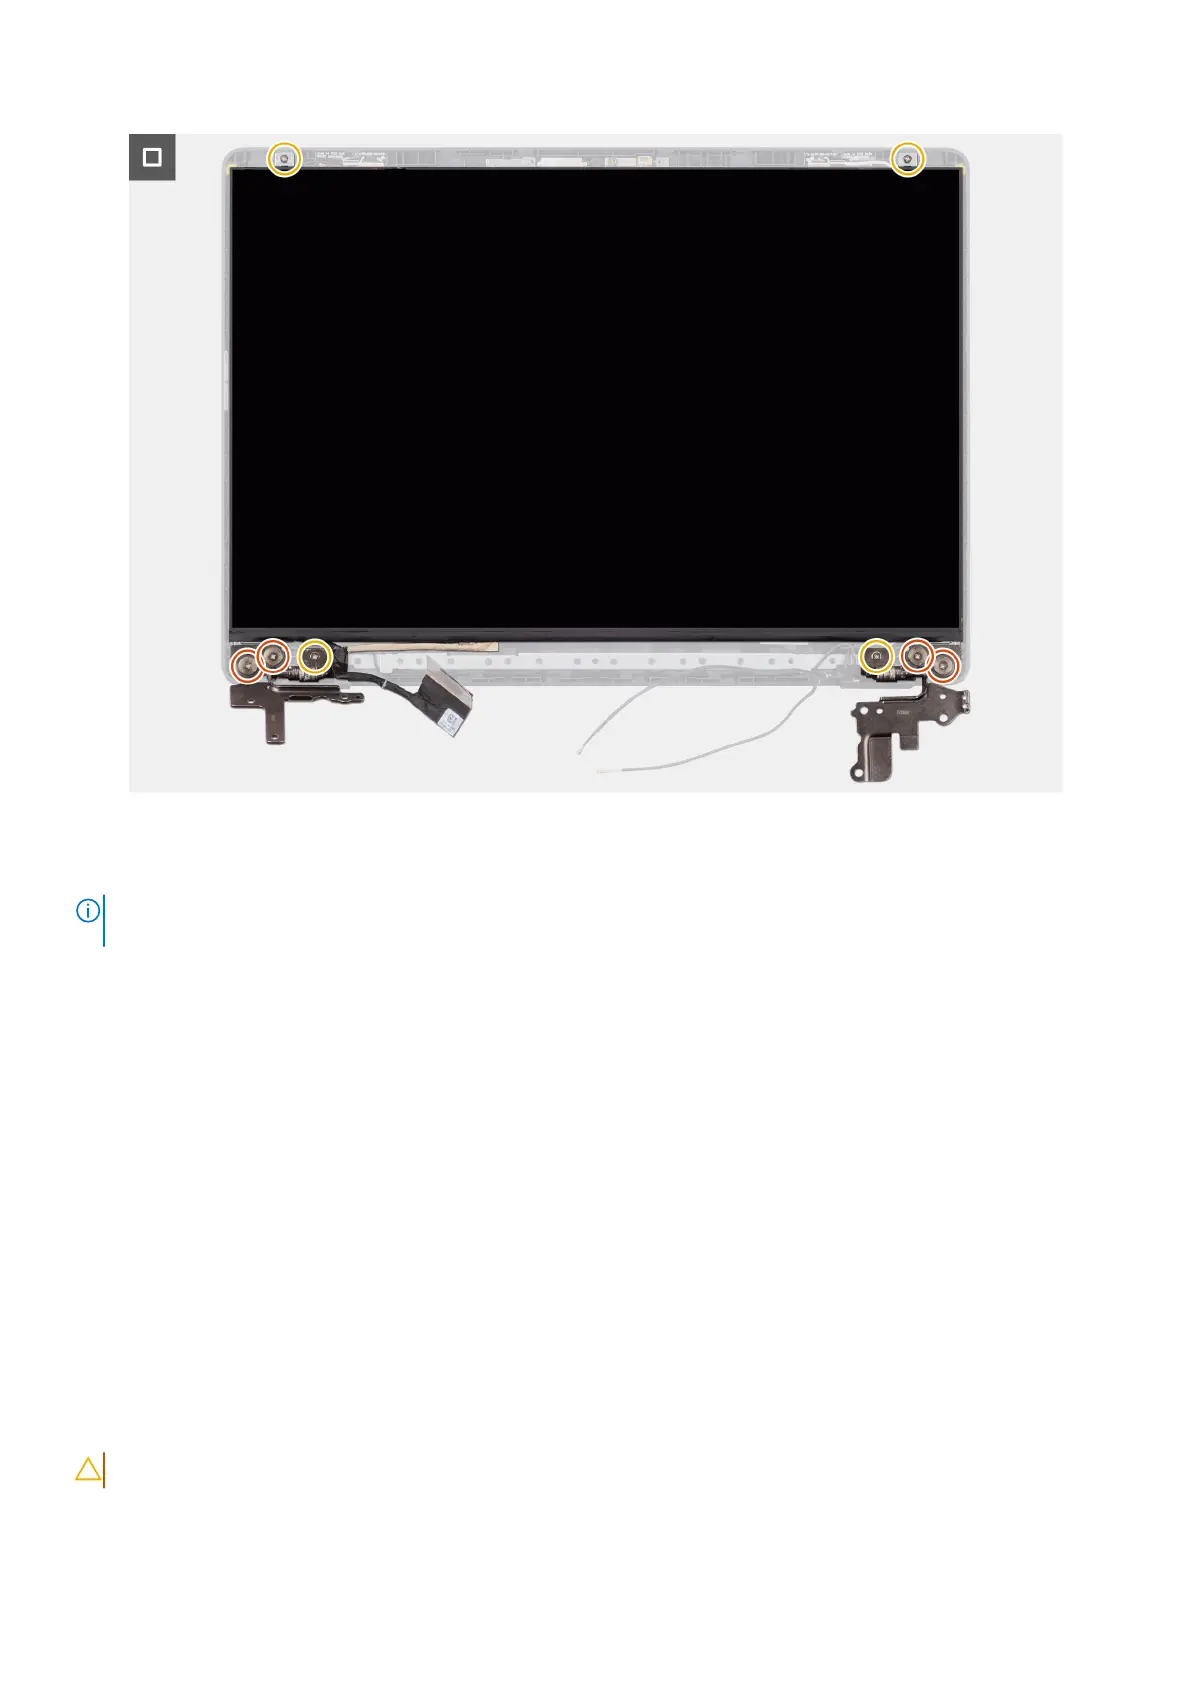
Figure 81. Installing the display-panel assembly
Steps
NOTE:
The display-panel assembly is preassembled with the display brackets as a single service part. Do not pull theStretch
Release tapes to separate the brackets from the display-panel.
1. Place the display-panel assembly on a flat and clean surface.
2. Connect the display cable to the connector (LCD1) on the display-panel assembly and close the latch.
3. Adhere the conductive tape to secure the display cable to the display-panel assembly.
4. Insert the display-panel assembly tabs into the slots on the display cover.
5. Replace the four (M2.5x2.5) screws and four (M2.5x3.5) screws to secure the display-panel assembly to the display back
cover.
Next steps
1. Install the display bezel.
2. Install the display assembly.
3. Install the base cover.
4. Follow the procedure in After working inside your computer.
Camera
Removing the camera
CAUTION: The information in this removal section is intended for authorized service technicians only.
112 Removing and installing Field Replaceable Units (FRUs)
Bekijk gratis de handleiding van Dell Pro 14 PC14255, stel vragen en lees de antwoorden op veelvoorkomende problemen, of gebruik onze assistent om sneller informatie in de handleiding te vinden of uitleg te krijgen over specifieke functies.
Productinformatie
| Merk | Dell |
| Model | Pro 14 PC14255 |
| Categorie | Laptop |
| Taal | Nederlands |
| Grootte | 54332 MB |


