Handleiding
Je bekijkt pagina 90 van 149
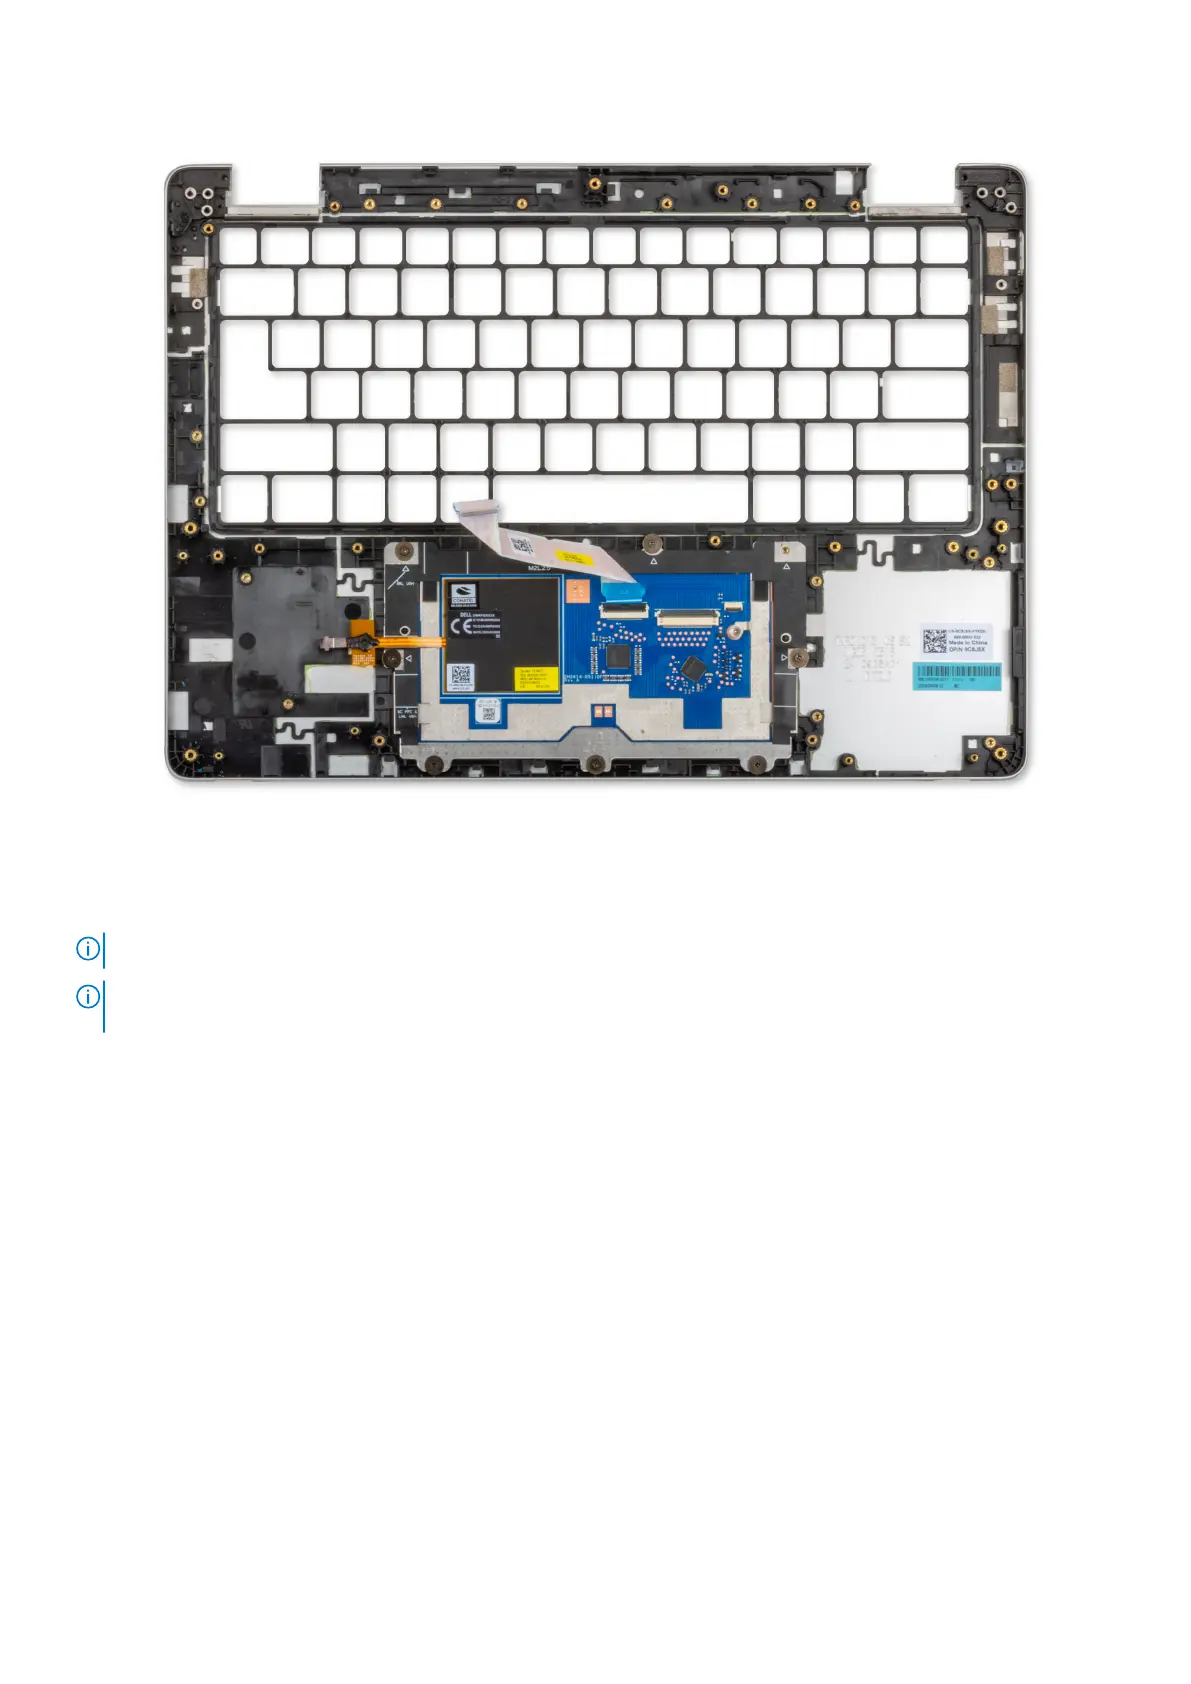
Figure 44. Installing the palm-rest assembly
Steps
Place the palm-rest assembly on a clean and flat surface.
NOTE: The touchpad is pre-assembeled with the palm-rest assembly.
NOTE: The battery support bracket and the keyboard support frame must be added to the replacement palm-rest
assembly.
Next steps
1. Install the display assembly.
2. Install the smart-card reader.
3. Install the power button with optional finger print reader..
4. Install the I/O board.
5. Install the system board.
6. Install the keyboard.
7. Install the USH-daughter board.
8. Install the fan.
9. Install the speaker.
10. Install the 5G WWAN card.
11. Install the M.2 2230 or M.2280 SSD, as applicable.
12. Install the battery.
13. Install the base cover.
14. Install the SIM card (optional).
15. Follow the procedure in After working inside your computer.
90
Removing and installing Field Replaceable Units (FRUs)
Bekijk gratis de handleiding van Dell Pro 13 Plus, stel vragen en lees de antwoorden op veelvoorkomende problemen, of gebruik onze assistent om sneller informatie in de handleiding te vinden of uitleg te krijgen over specifieke functies.
Productinformatie
| Merk | Dell |
| Model | Pro 13 Plus |
| Categorie | Laptop |
| Taal | Nederlands |
| Grootte | 55186 MB |


