Danby DRRM300W handleiding
Handleiding
Je bekijkt pagina 18 van 64
17
INSTALLATION INSTRUCTIONS
NOTE: If the range is moved to adjust the leveling legs, ensure
that when the range is moved back into the final location that the
anti-tip bracket is engaged by repeating steps 1 through 9.
1. Slide range into final location, making sure rear leveling
leg slides into ant-tip bracket. Leave a 1 inch (2.5cm) gap
between the back of the range and the back wall.
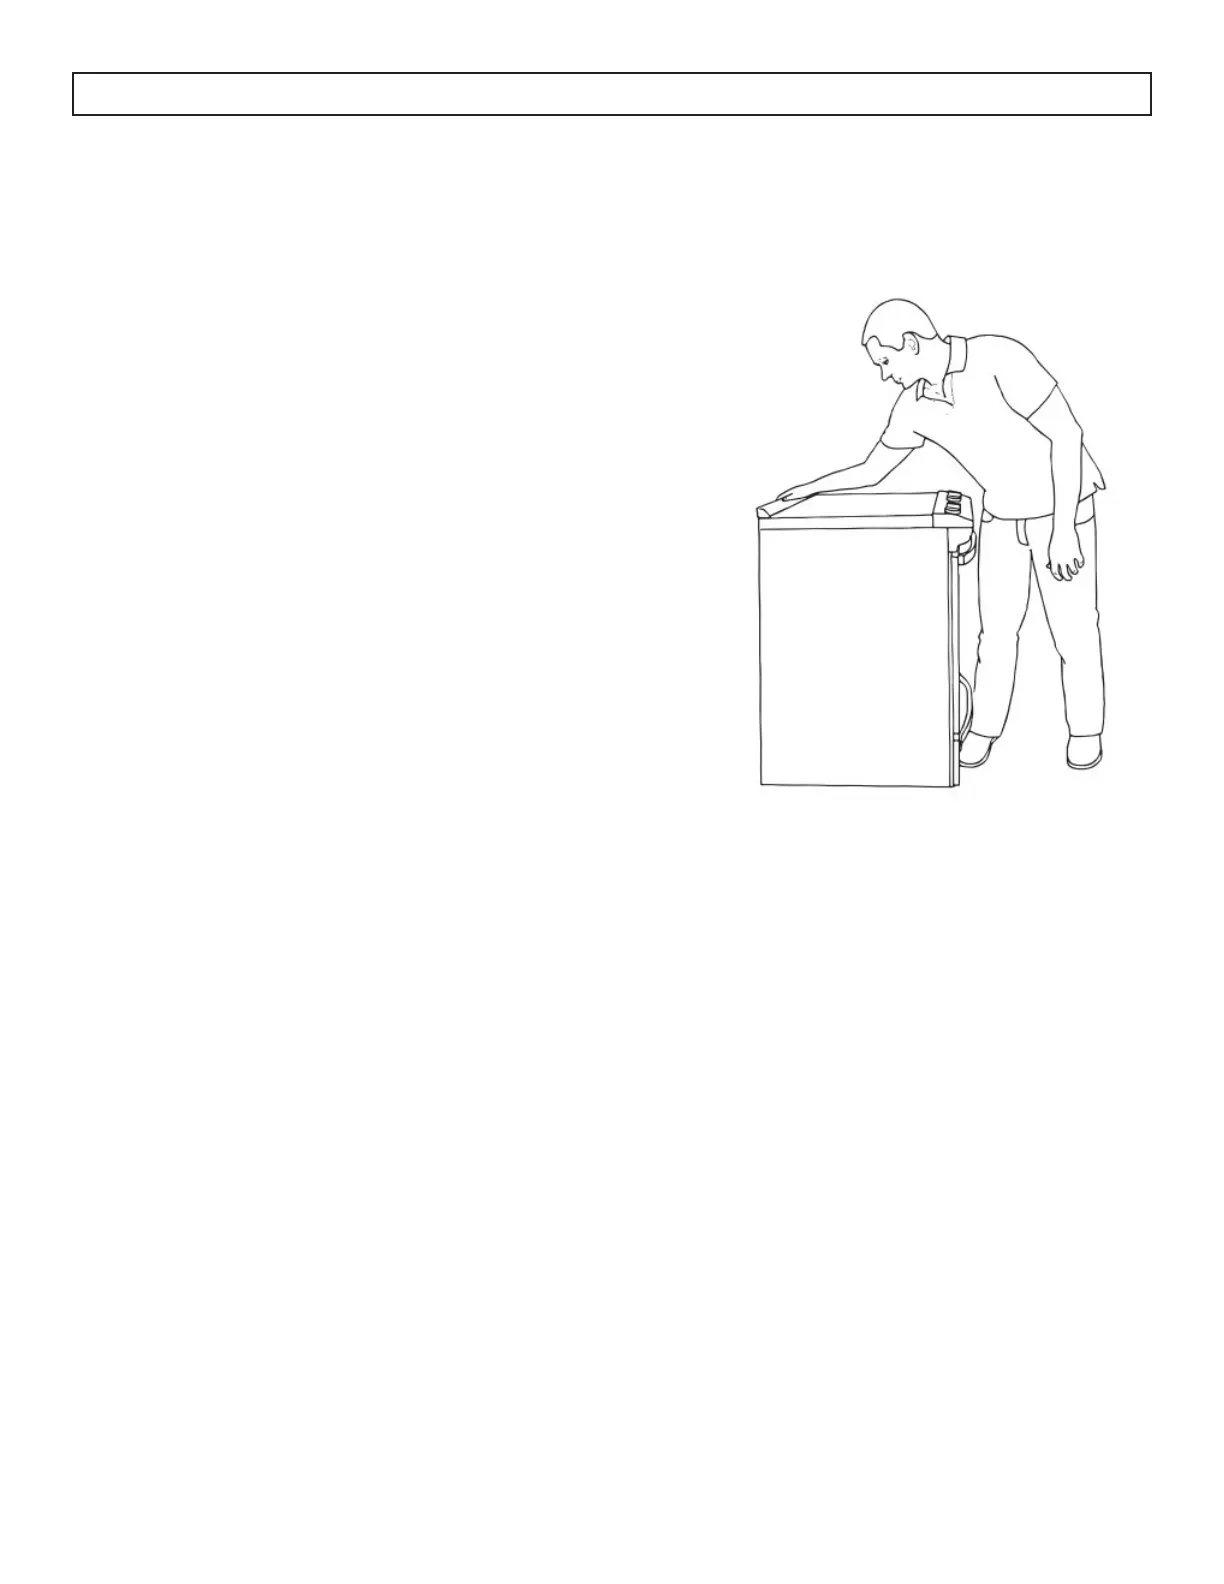
2. Place the outside of your foot against the bottom front to keep
the range from moving and then grasp the back of the range,
as shown.
3. Slowly attempt to tilt the range forward. If you encounter
immediate resistance, the range foot is engaged in the anti-tip
bracket. Go to Step 8.
4. If the rear of the range lifts more than 1/2 inch (1.3cm) off
the floor without resistance, stop tilting the range and lower it
gently back to the floor. The range foot is not engaged in the
anti-tip bracket.
NOTE: If there is a snapping or popping sound when lifting the
range, the range may not be fully engaged in the bracket. Check
to see if there are obstructions keeping the range from sliding to
the wall or keeping the range foot from sliding into the bracket.
Verify that the bracket is held securely in place by the mounting
screws.
INSTALLING RANGE
5. Slide the range forward and verify that the anti-tip bracket is securely attached to the floor or wall.
6. Slide the range back so the rear range foot is inserted into the slot of the anti-tip bracket.
7. Repeat steps 1 through 3 to ensure that the range foot is engaged in the anti-tip bracket. If the rear of
the range lifts more than 1/2 inch (1.3cm) off the floor without resistance, the anti-tip bracket may not
be installed correctly. Do not operate the range without anti-tip bracket installed and engaged.
8. Move the range into its final location. Check that the range is level by placing a level on the oven
bottom.
NOTE: The range must be level for optimum cooking and baking performance.
9. If needed, use a wrench to adjust the height of the leveling legs until the range is level from side to side
and back to back.
Bekijk gratis de handleiding van Danby DRRM300W, stel vragen en lees de antwoorden op veelvoorkomende problemen, of gebruik onze assistent om sneller informatie in de handleiding te vinden of uitleg te krijgen over specifieke functies.
Productinformatie
| Merk | Danby |
| Model | DRRM300W |
| Categorie | Niet gecategoriseerd |
| Taal | Nederlands |
| Grootte | 8376 MB |


