Handleiding
Je bekijkt pagina 82 van 604
2
Press [Preferences] [Network] [TCP/IP Settings] [IPv4 Settings]
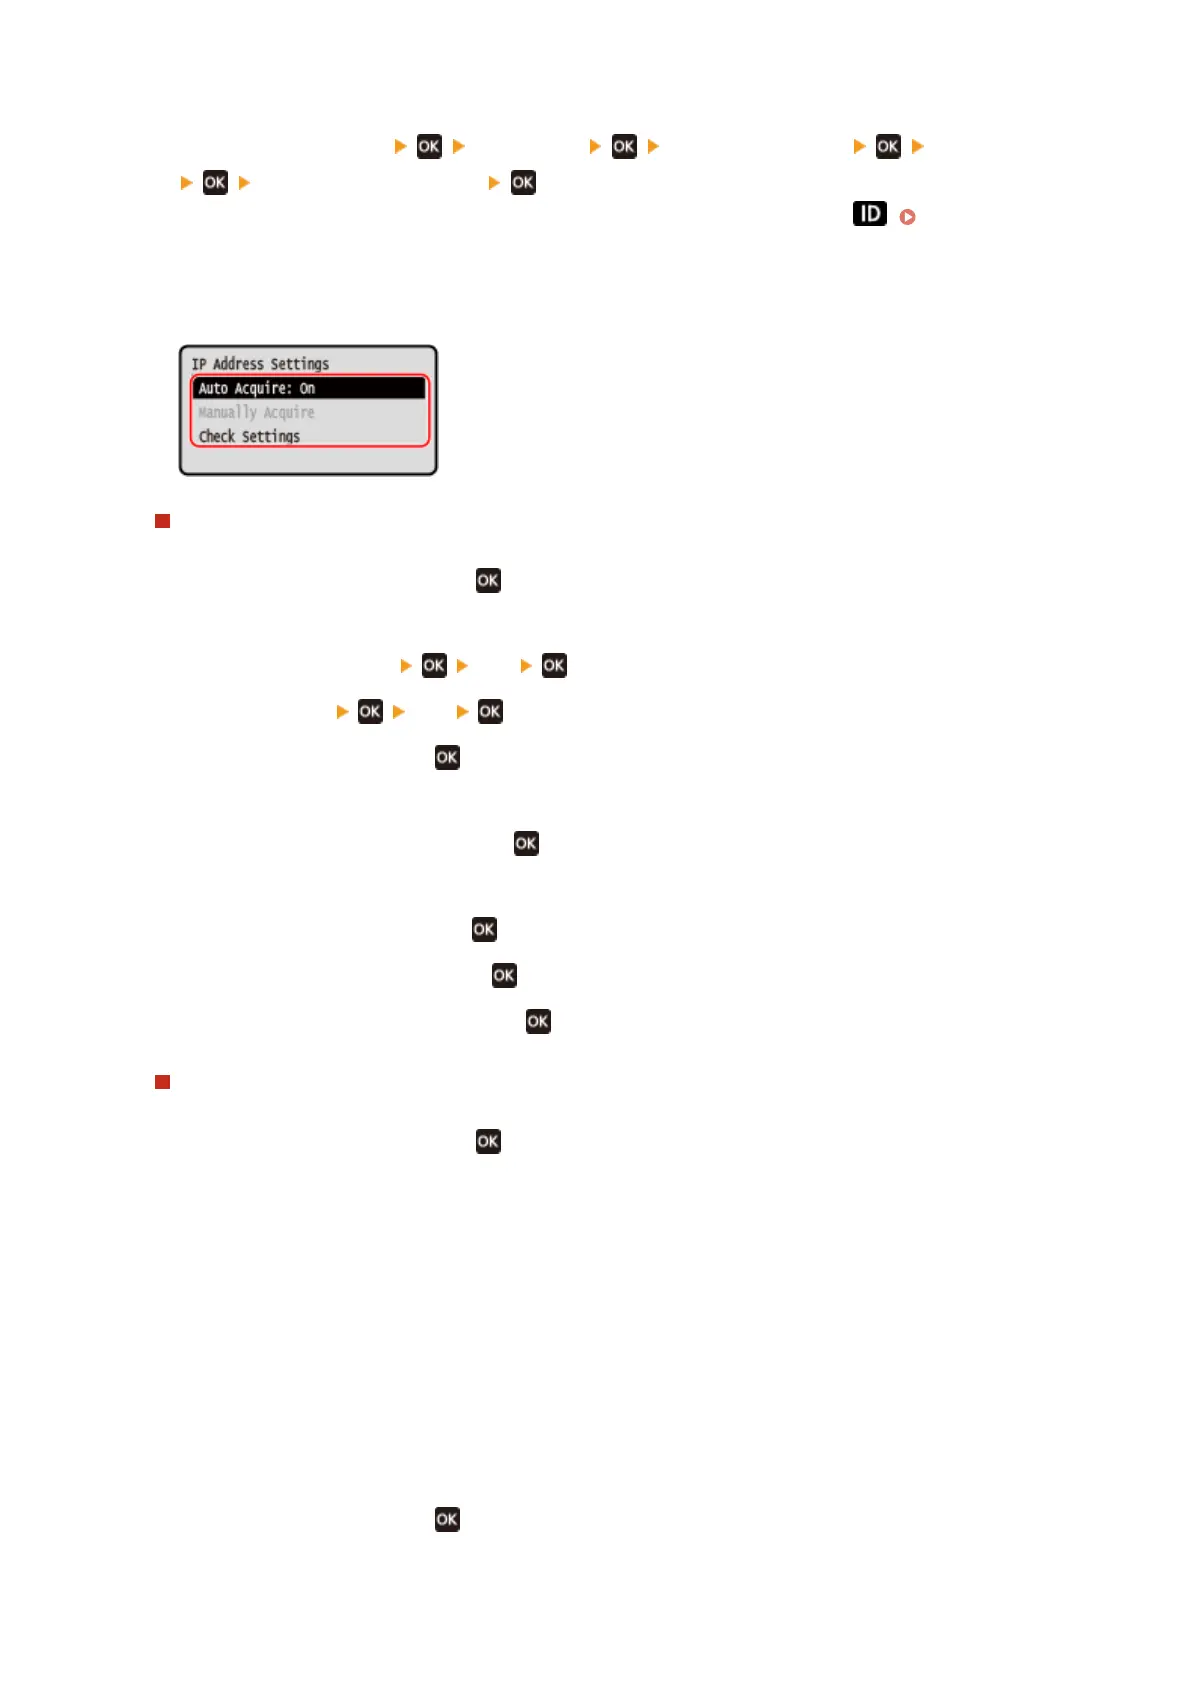
[IP Address Settings] .
If the login screen appears, enter the Administrator ID and PIN, and then press . Administrator ID
and PIN(P. 10)
3
Set the IP address.
When Manually Setting the IP Address
1
Select [Auto Acquire] and press .
➠ The [Auto Acquire] screen is displayed.
2
Press [Select Protocol] [Off] .
3
Press [Auto IP] [Off] .
4
Select [<Apply>] and press .
➠ The [IP Address Settings] screen is displayed.
5
Select [Manually Acquire] and press .
➠ The IP address input screen is displayed.
6
Enter the IP address and press .
7
Enter the subnet mask and press .
8
Enter the gateway address and press .
When Assigning an IP Address Automatically
1
Select [Auto Acquire] and press .
➠ The [Auto Acquire] screen is displayed.
2
Congure the Auto Acquire setting, as needed.
[Select Protocol]
Normally, set to [DHCP]. However, when [DHCP] is set in an environment where DHCP cannot be used,
the machine will continue to conrm Auto Acquire in the network, creating unnecessary communication.
When not using DHCP, set this to [Off].
[Auto IP]
Normally, set to [On]. Although priority is given to the IP address allocated with DHCP, if there is no
response from DHCP, Auto IP will be used.
3
Select [<Apply>] and press .
Setting Up
74
Bekijk gratis de handleiding van Canon imageCLASS LBP246dw II, stel vragen en lees de antwoorden op veelvoorkomende problemen, of gebruik onze assistent om sneller informatie in de handleiding te vinden of uitleg te krijgen over specifieke functies.
Productinformatie
| Merk | Canon |
| Model | imageCLASS LBP246dw II |
| Categorie | Printer |
| Taal | Nederlands |
| Grootte | 55888 MB |


