Handleiding
Je bekijkt pagina 75 van 259
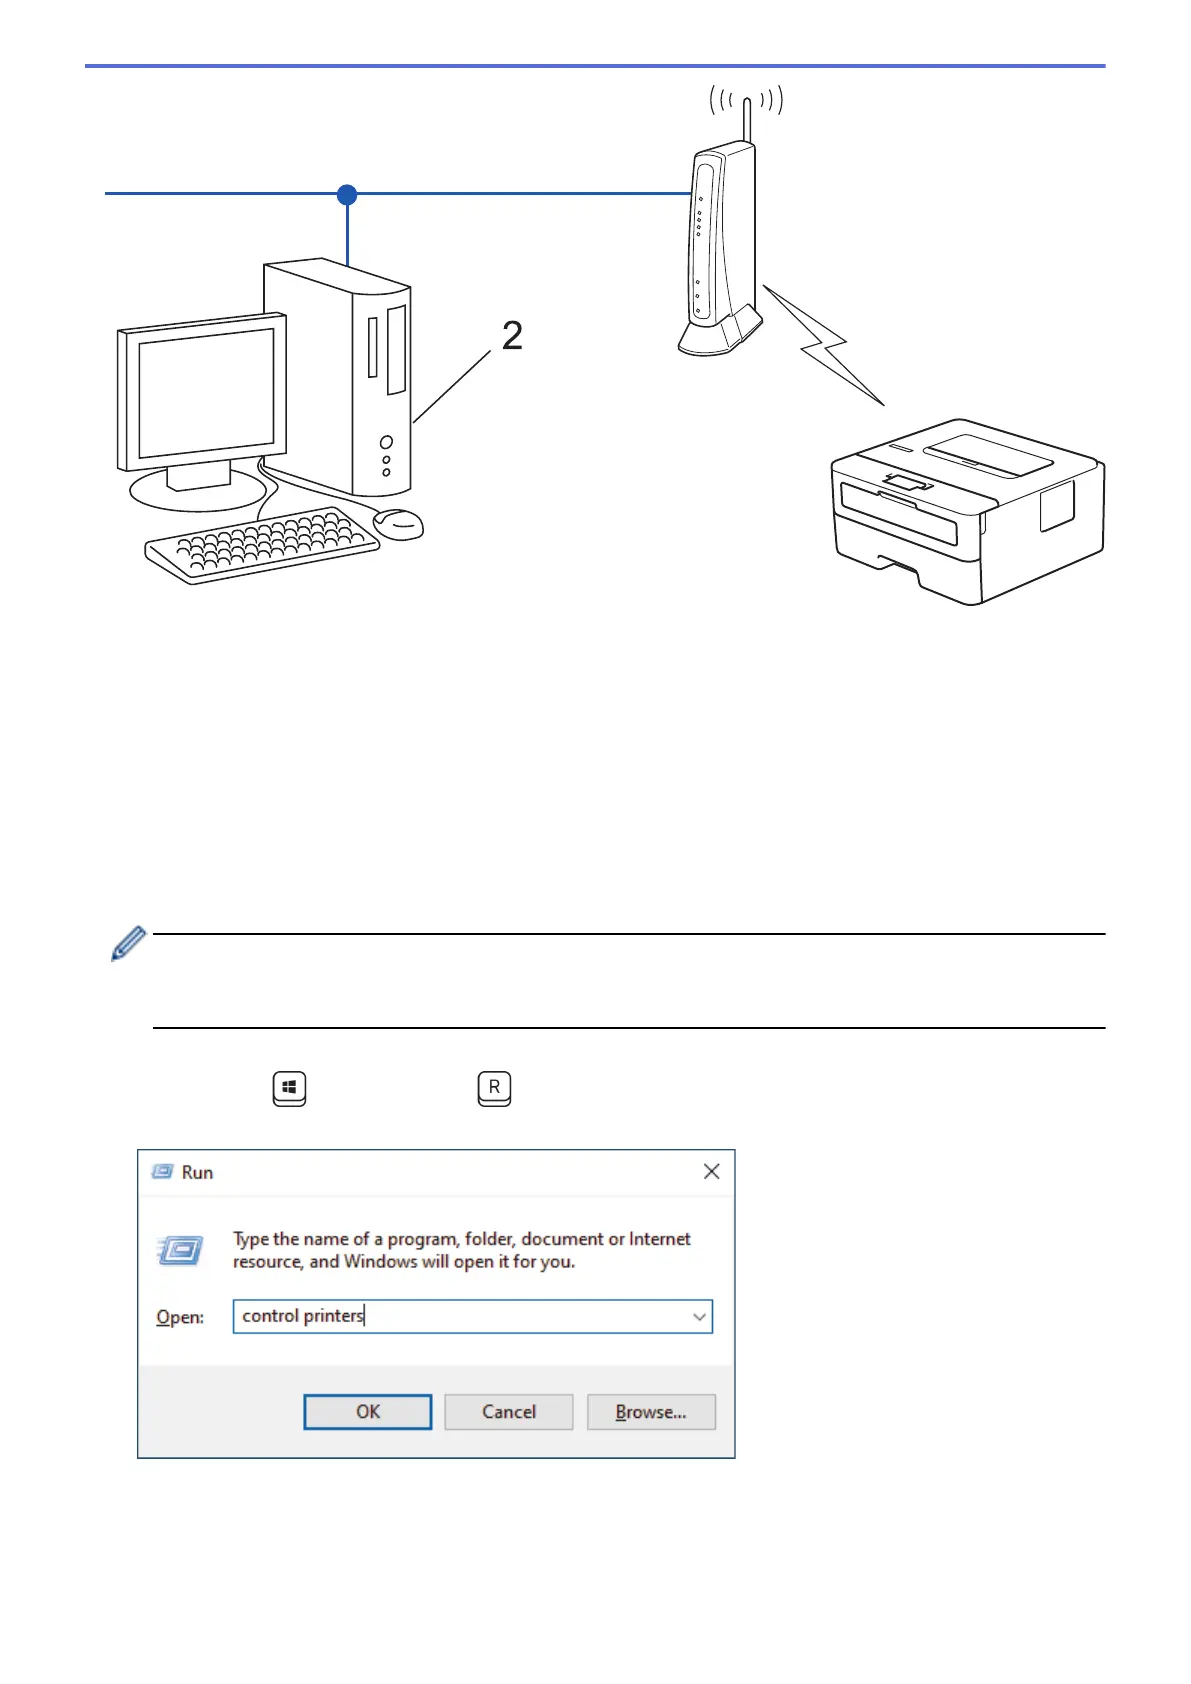
2
1. Press a or b to select the [Network] option, and then press OK.
2. Press a or b to select the [WLAN(Wi-Fi)] option, and then press OK.
3. Press a or b to select the [WPS/PIN Code] option, and then press OK.
4. When [WLAN Enable?] appears, select On.
This will start the wireless setup wizard.
5. The LCD displays an eight-digit PIN and the machine starts searching for a wireless LAN access point/router.
6. Using a computer connected to the network, in your browser's address bar, type the IP address of the device
you are using as the Registrar (for example: http://192.168.1.2).
7. Go to the WPS settings page and type the PIN, and then follow the on-screen instructions.
• The Registrar is usually the wireless LAN access point/router.
• The settings page may differ depending on the brand of wireless LAN access point/router. For more
information, see the instructions supplied with your wireless LAN access point/router.
If you are using a Windows 10 or Windows 11 computer as a Registrar, complete the following steps:
8. Hold down the key and press the key on the computer's keyboard to launch Run.
9. Type "control printers" in the Open: field and click OK.
10. Click Add a device.
70
Bekijk gratis de handleiding van Brother HL-L2442DW, stel vragen en lees de antwoorden op veelvoorkomende problemen, of gebruik onze assistent om sneller informatie in de handleiding te vinden of uitleg te krijgen over specifieke functies.
Productinformatie
| Merk | Brother |
| Model | HL-L2442DW |
| Categorie | Printer |
| Taal | Nederlands |
| Grootte | 20718 MB |
Caratteristiche Prodotto
| Kleur van het product | Grijs |
| Ingebouwd display | Ja |
| Gewicht | 6000 g |
| Breedte | 356 mm |
| Diepte | 360 mm |


