Biostar J4125NHU handleiding
Handleiding
Je bekijkt pagina 15 van 51
Chapter 2: Hardware installaon | 15
J4025NHU / J4125NHU
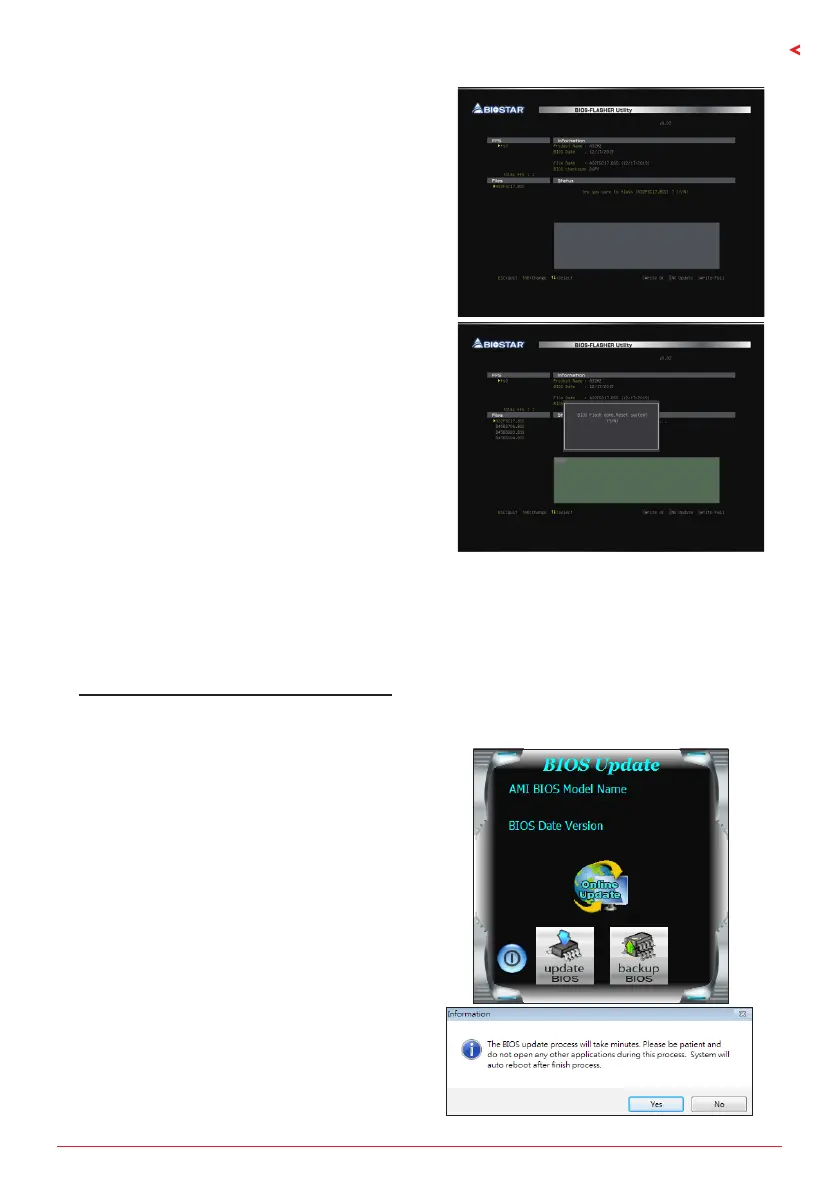
6. Select the proper BIOS le, and a message asking
if you are sure to ash the BIOS le. Click “Yes” to
start updang BIOS.
7. A dialog pops out aer BIOS ash is completed,
asking you to restart the system. Press the <Y> key
to restart system.
8. While the system boots up and the full screen logo shows up, press <DEL> key to enter BIOS
setup.
Aer entering the BIOS setup, please go to the <Save & Exit>, using the <Restore Defaults>
funcon to load Opmized Defaults, and select <Save Changes and Reset> to restart the
computer. Then the BIOS Update is completed.
BIOS Update Ulity (through the Internet)
1. Installing BIOS Update Ulity from the DVD Driver.
2. Please make sure the system is connected to the internet before using this funcon.
3. Launch BIOS Update Ulity and click the
“Online Update” buon on the main screen.
4. An open dialog will show up to request your
agreement to start the BIOS update. Click “Yes”
to start the online update procedure.
Bekijk gratis de handleiding van Biostar J4125NHU, stel vragen en lees de antwoorden op veelvoorkomende problemen, of gebruik onze assistent om sneller informatie in de handleiding te vinden of uitleg te krijgen over specifieke functies.
Productinformatie
| Merk | Biostar |
| Model | J4125NHU |
| Categorie | Niet gecategoriseerd |
| Taal | Nederlands |
| Grootte | 7848 MB |
Caratteristiche Prodotto
| Breedte | 170 mm |
| Diepte | 170 mm |
| Processormodel | J4125 |
| Aantal processorkernen | 4 |
| Grafische adapter | Intel® UHD Graphics 600 |


