Handleiding
Je bekijkt pagina 13 van 40
FIRST TIME USE
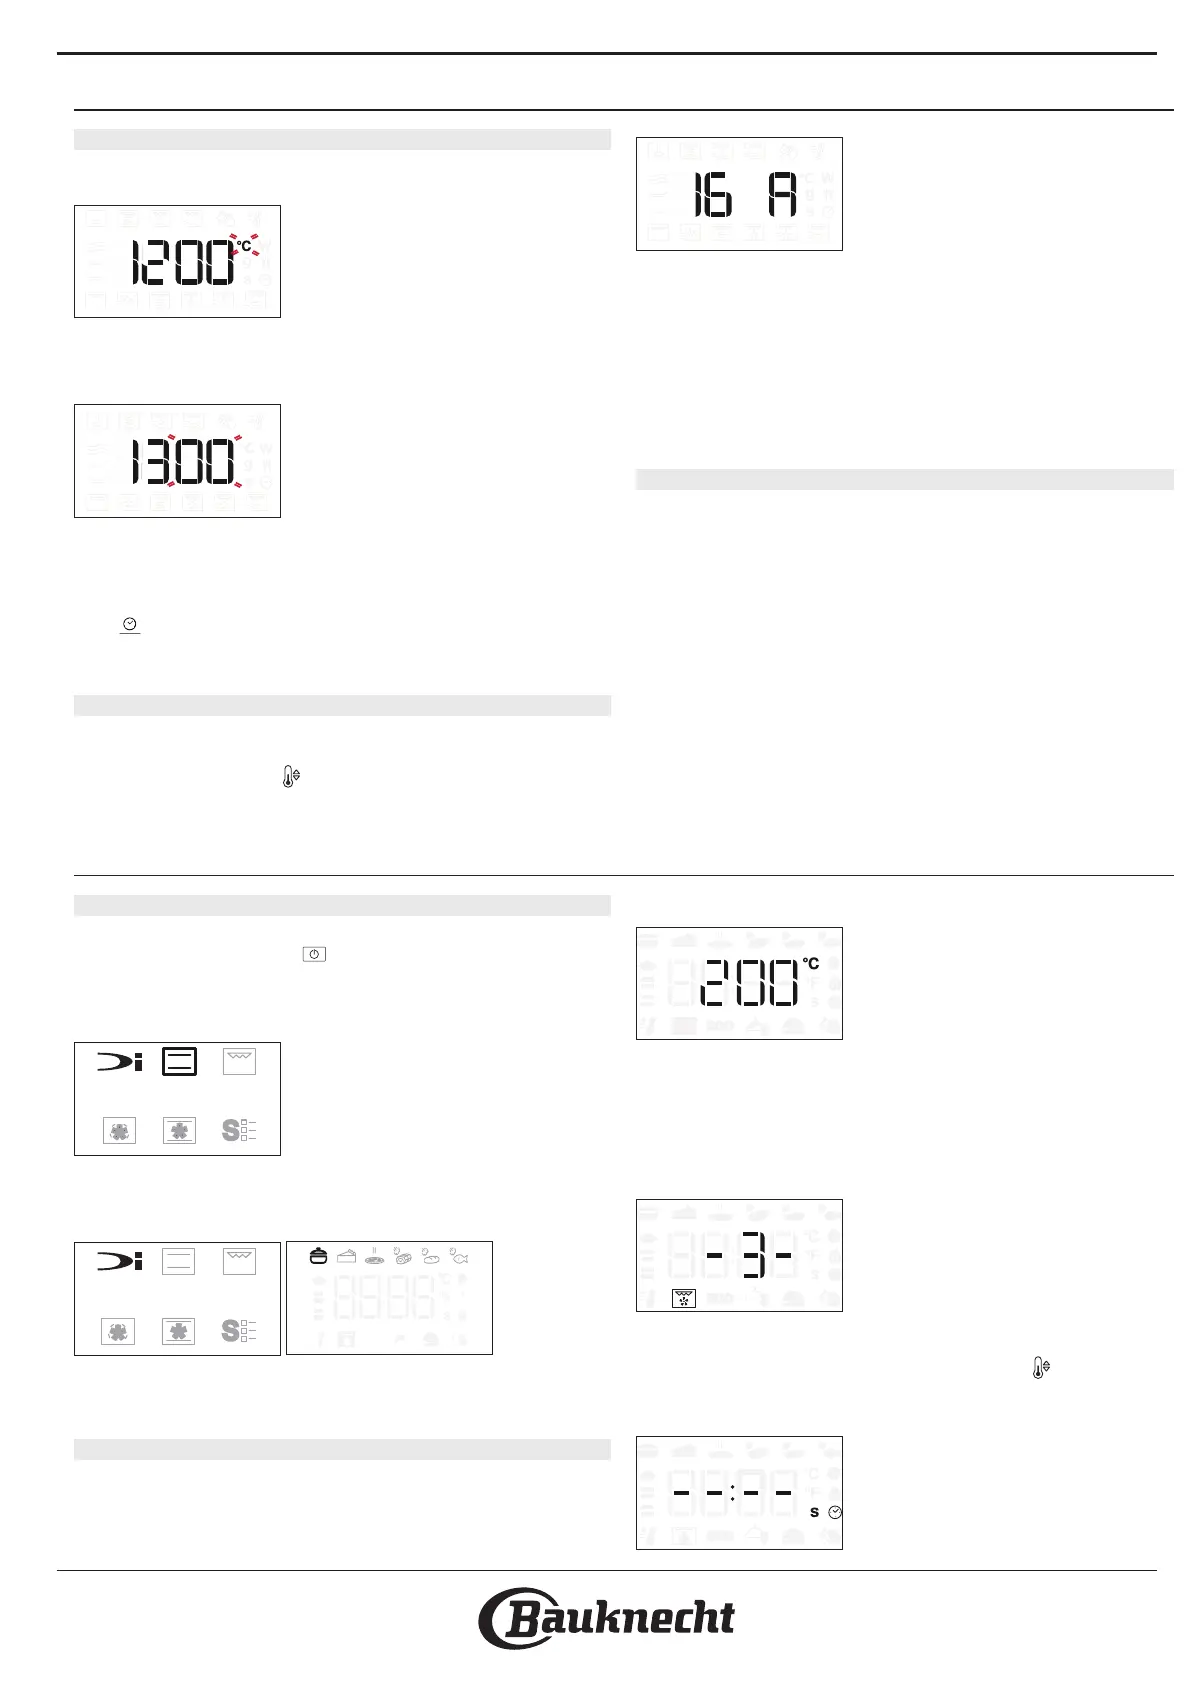
1. SETTING THE TIME
You will need to set the time when you switch on the
oven for the first time.
The two digits for the hour will start flashing: Turn
the knob to set the hour and then press the central
button to confirm.
The two digits for the minutes will start flashing. Turn
the knob to set the minutes and press the central
button to confirm.
Please note: To change the time at a later point, press and
hold for at least one second while the oven is o and
repeat the steps above. You may need to set the time again
following lengthy power outages.
2. SETTING THE POWER CONSUMPTION
Turn On the appliance.
Turn off the appliance, and right after* keep pressed
Temperature button
for 5 seconds, until the display
shows current power setting (i.e. "13 A" or "16 A"),
blinking.
Rotate the knob to change the value, and push the
knob to confirm the selected value.
When the value is confirmed, it stops it's blinking
and it is shown fixed for 3s, and a long tone is played.
Then the appliance goes off.
* the long button press will produce an eect only if it
happens not later than 30s since the appliance entered O
(Idle) state. This is why it is needed to turn on and o the
appliance and press the button immediately.
3. HEAT THE OVEN
A new oven may release odours that have been left
behind during manufacturing: this is completely
normal. Before starting to cook food, we therefore
recommend heating the oven with it empty in order to
remove any possible odours. Remove any protective
cardboard or transparent lm from the oven and
remove any accessories from inside it.
Heat the oven to 200 °C for around one hour, ideally
using a function with air circulation (e.g. “Forced Air” or
“Convection Bake”).
Follow the instructions for setting the function
correctly.
Please note: It is advisable to air the room after using the
appliance for the rst time.
DAILY USE
1. SELECT A FUNCTION
When the oven is off, only the time is shown on the
display. Press and hold
to switch the oven on. Turn
the knob to view the main functions available on the
left-hand display. Select one and press the central
button.
To select a sub-function (where available), select the
main function and then press the central button to
confirm and go to the function menu.
Turn the knob to view the sub-functions available
on the right-hand display. Select one and press the
central button to confirm.
2. SET THE FUNCTION
After having selected the function you require, you
can change its settings. The display will show the
settings that can be changed in sequence.
TEMPERATURE/GRILL LEVEL
When the °C icon flashes on the display, turn the knob
to change the value, then press the central buttonto
confirm and continue to alter the settings that follow
(if possible).
You can also set the grill level (3 = high, 2 = medium,
1 = low) at the same time.
Please note: Once the function has started, you can change
the temperature or the grill level by pressing or by turning
the knob directly.
DURATION
Bekijk gratis de handleiding van Bauknecht BCC5SMSKA, stel vragen en lees de antwoorden op veelvoorkomende problemen, of gebruik onze assistent om sneller informatie in de handleiding te vinden of uitleg te krijgen over specifieke functies.
Productinformatie
| Merk | Bauknecht |
| Model | BCC5SMSKA |
| Categorie | Oven |
| Taal | Nederlands |
| Grootte | 6144 MB |


