ATen CL1000N handleiding
Handleiding
Je bekijkt pagina 17 van 42
Chapter 1. Introduction
7
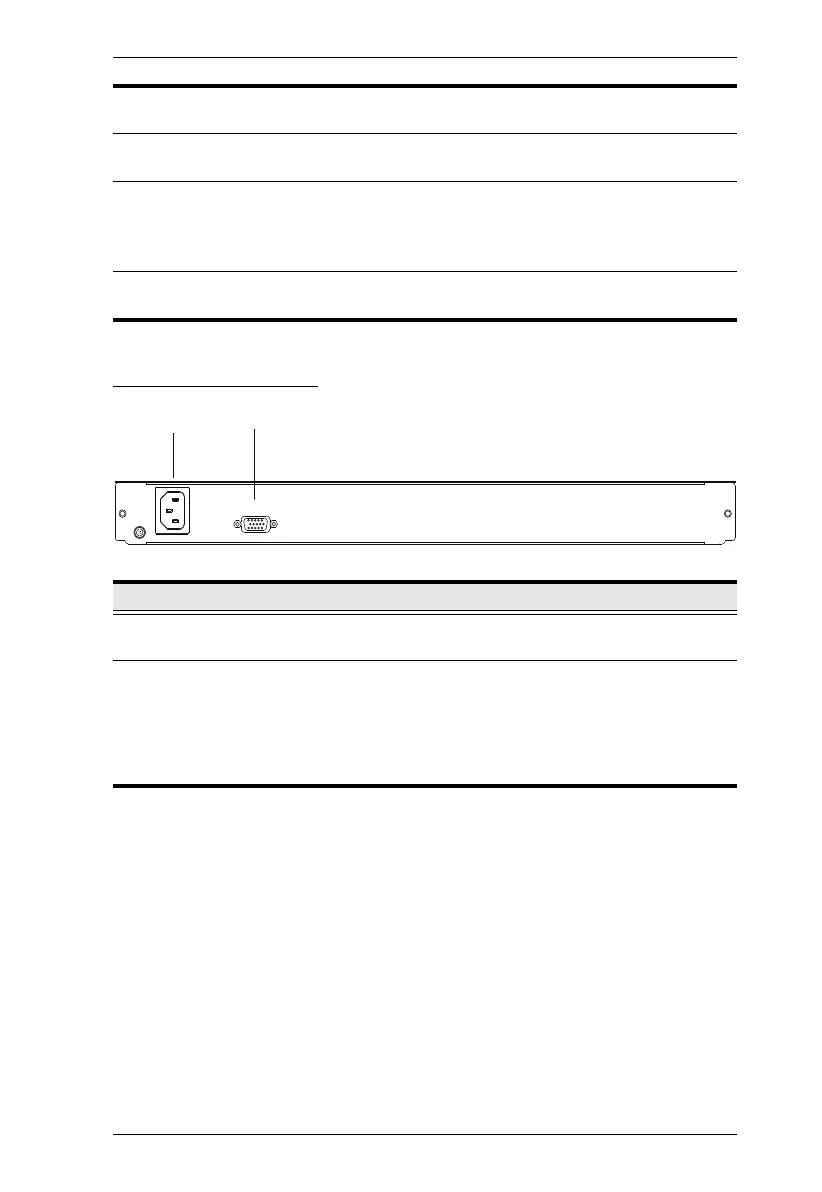
CL1000N Rear View
8 rack mount
brackets
The rack mount brackets located at each corner of the unit
secure the chassis to a system rack.
9 lock LEDs The Num Lock, Caps Lock, Scroll Lock LEDs are located
here.
10 LCD On / Off
button
Push this button to turn the LCD monitor on and off. The
button lights when the LCD monitor is off.
Note: The light indicates that only the monitor is off, not the
attached KVM switch.
11 LED illumination
light
Press the Exit / Light pushbutton for two seconds to turn the
LED light on or off. (Default: On)
No. Component Description
1 power socket This is a standard 3-prong AC power socket. The power cord
from your AC source plugs in here.
2 KVM port The cable that links the CL1000N to the KVM switch plugs in
here.
Note: The shape of this SPHD connector has been
specifically modified so that only KVM cables designed to
work with this switch can plug in (see Cables, page 3, for
details).
1
2
Bekijk gratis de handleiding van ATen CL1000N, stel vragen en lees de antwoorden op veelvoorkomende problemen, of gebruik onze assistent om sneller informatie in de handleiding te vinden of uitleg te krijgen over specifieke functies.
Productinformatie
| Merk | ATen |
| Model | CL1000N |
| Categorie | Niet gecategoriseerd |
| Taal | Nederlands |
| Grootte | 3128 MB |
Caratteristiche Prodotto
| Kleur van het product | Zwart |
| Ingebouwd display | Ja |
| Gewicht | 11060 g |
| Breedte | 585.2 mm |
| Diepte | 483 mm |


