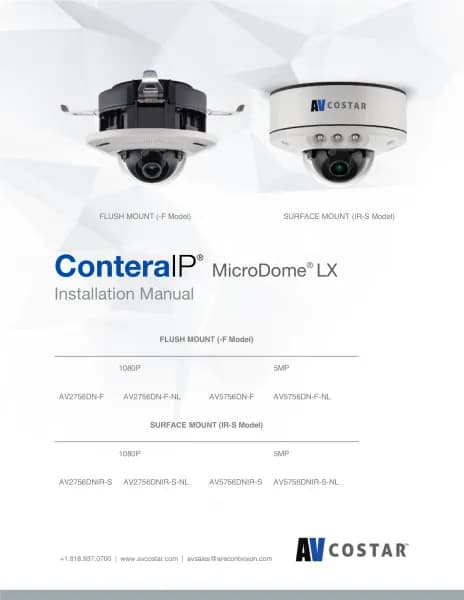
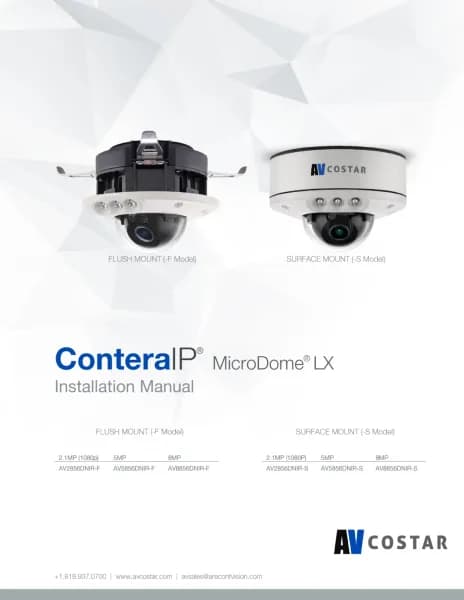
Arecont Vision ConteraIP MicroDome AV2756DNIR-S handleiding
Handleiding
Je bekijkt pagina 11 van 56

Page 10 of 54
NOTE: For installations in harsh environments, it is recommended to use all six
mounting screws supplied with the camera to create the best seal possible between
the camera and the mounting
surface and using the supplied gasket.
-or-
b. Junction Box
1. Install a 4 in. gang box or square metal junction box (not supplied)
NOTE: Ensure openings for cables are accounted for prior to installation.
Figure 4: Install 4S junction box (not supplied)
2. Insert the supplied gasket inside the gang box.
3. Insert the camera flush against the gasket inside the 4S gang box; this will be a
tight fit.
NOTE: If you use the side connection of the NPT port, remove the cap covering the side
entrance, otherwise; leave the cap in place. If using the NPT port, always use Teflon tape
around the threads to ensure proper sealing.
4. Route the cable tree from the camera around the rear of the camera
module and secure all cables. See the Connections section for details on
how to connect the camera.
5. Check that the indicator LED’s are illuminated to the desired conditions
(see LED Indicator table).
Bekijk gratis de handleiding van Arecont Vision ConteraIP MicroDome AV2756DNIR-S, stel vragen en lees de antwoorden op veelvoorkomende problemen, of gebruik onze assistent om sneller informatie in de handleiding te vinden of uitleg te krijgen over specifieke functies.
Productinformatie
| Merk | Arecont Vision |
| Model | ConteraIP MicroDome AV2756DNIR-S |
| Categorie | Bewakingscamera |
| Taal | Nederlands |
| Grootte | 8744 MB |


